Compact Tool Box Inserts
Installing Inserts
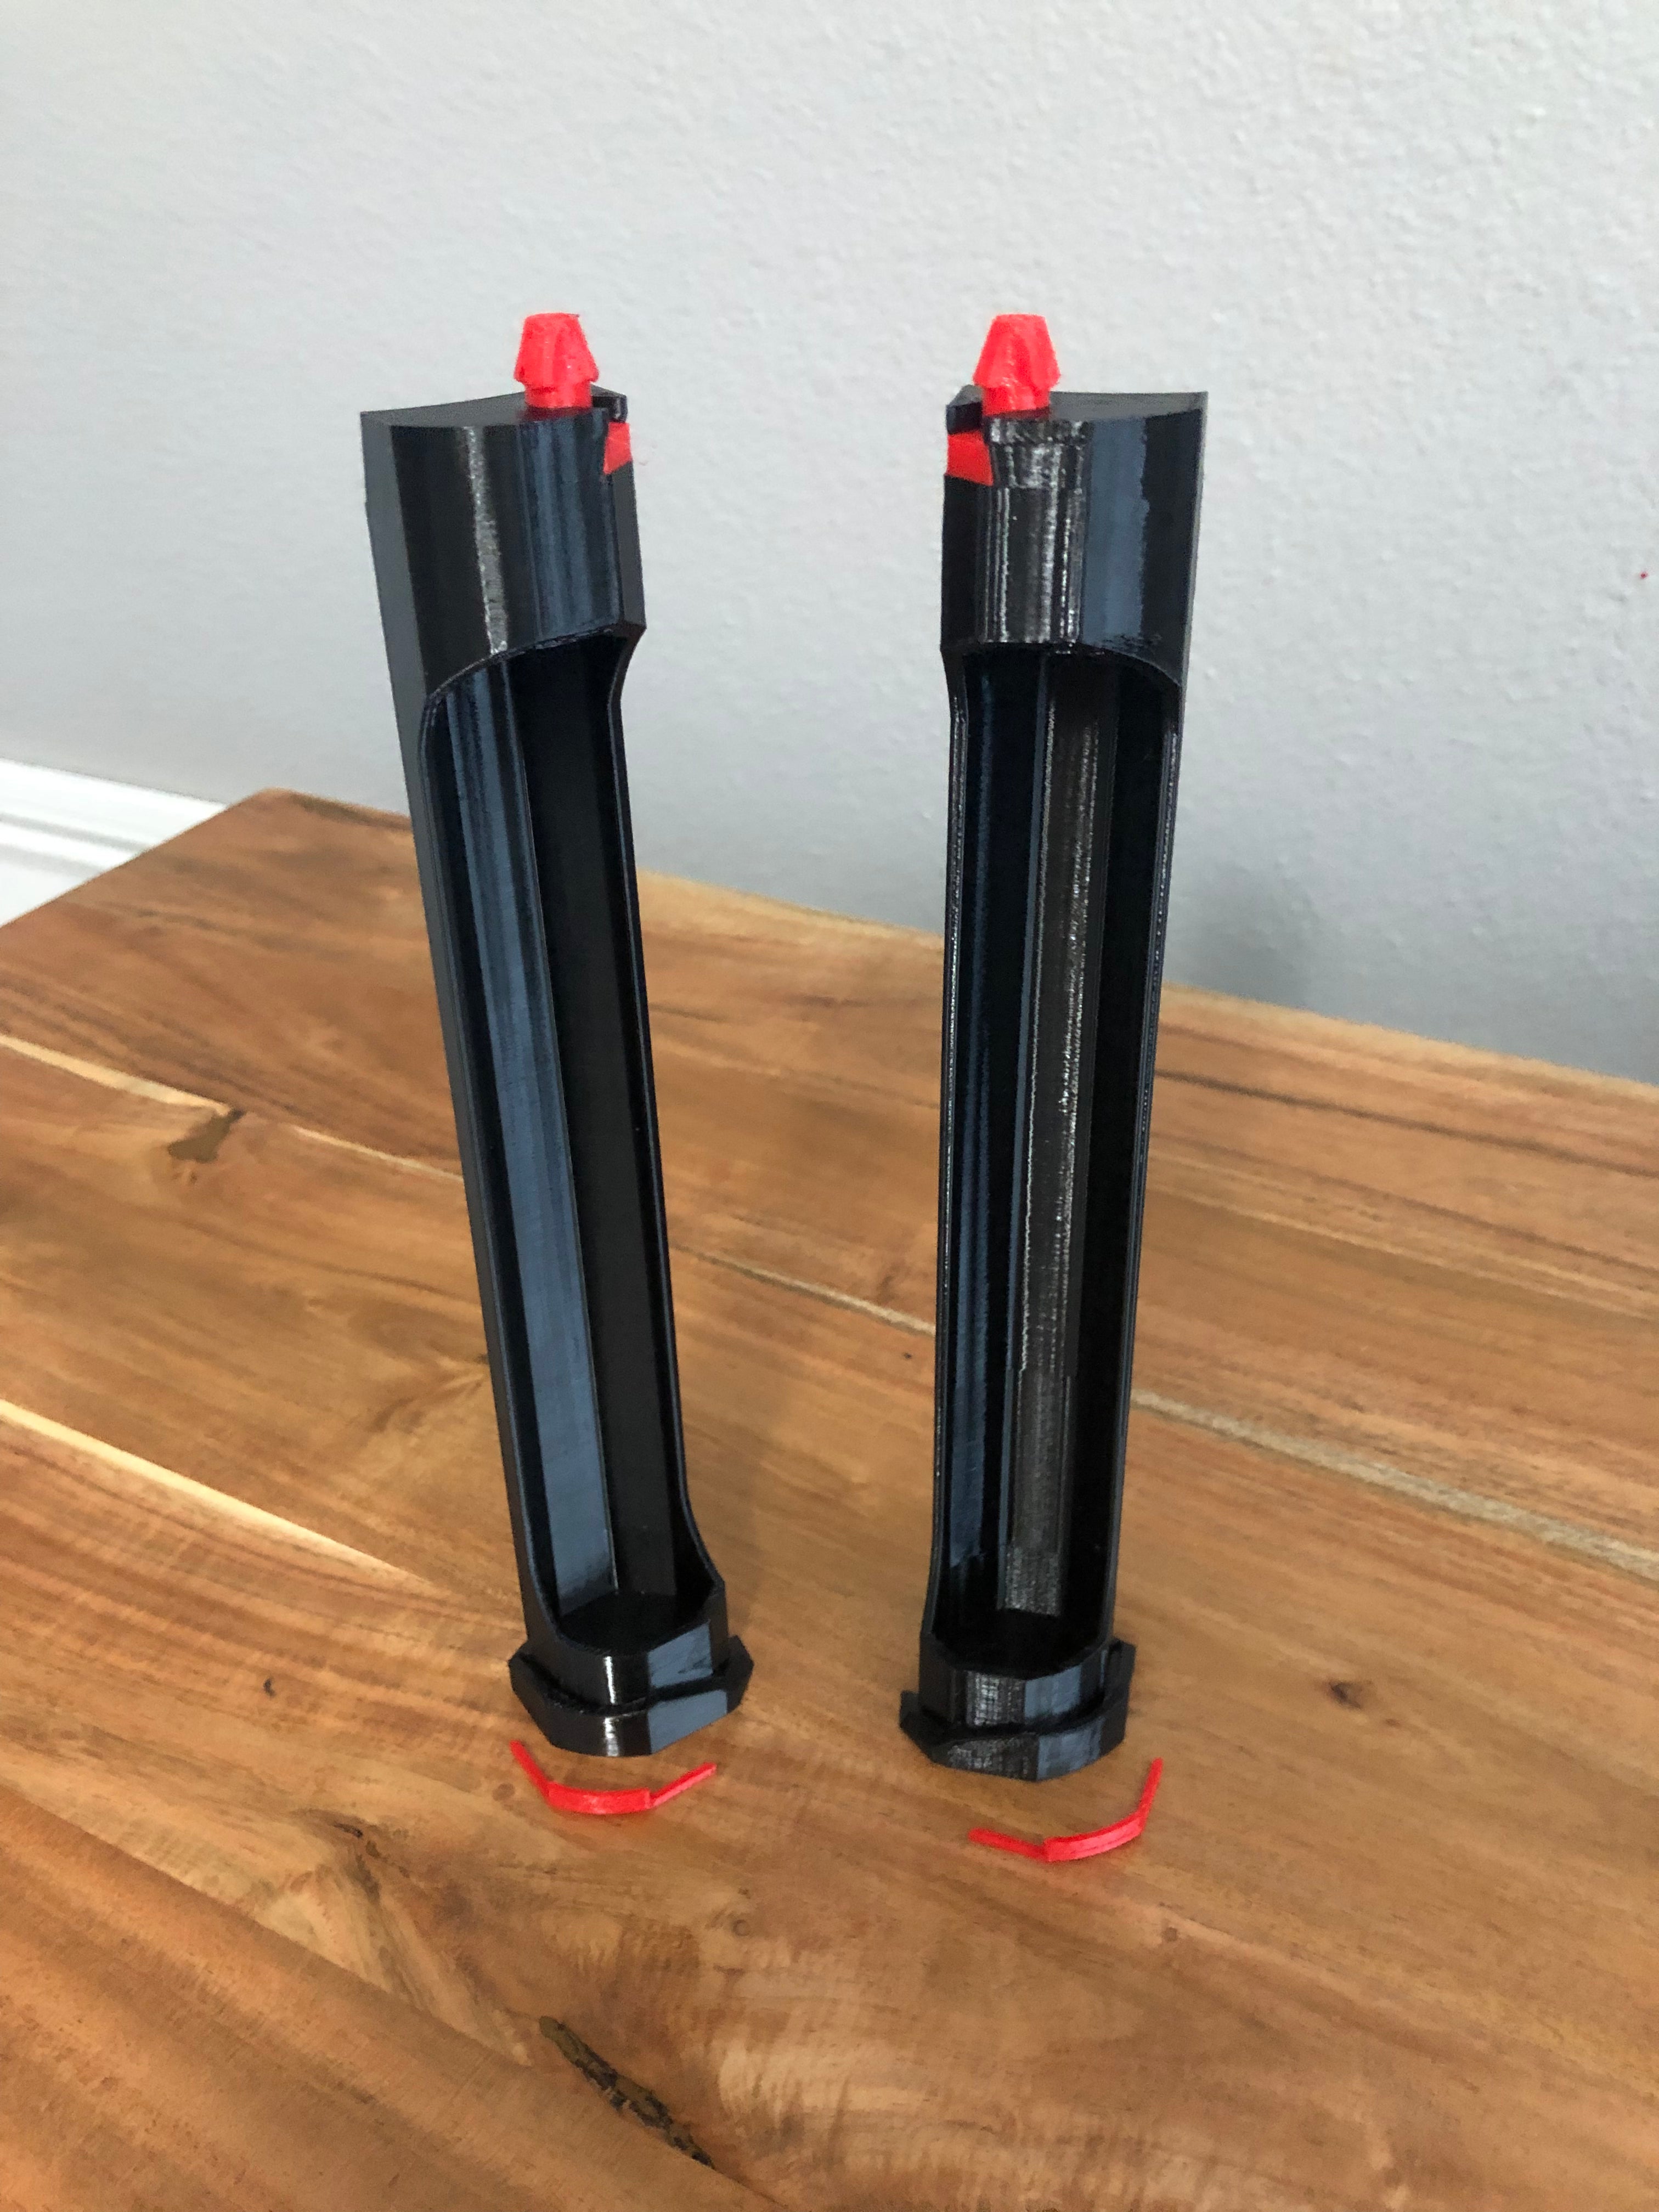
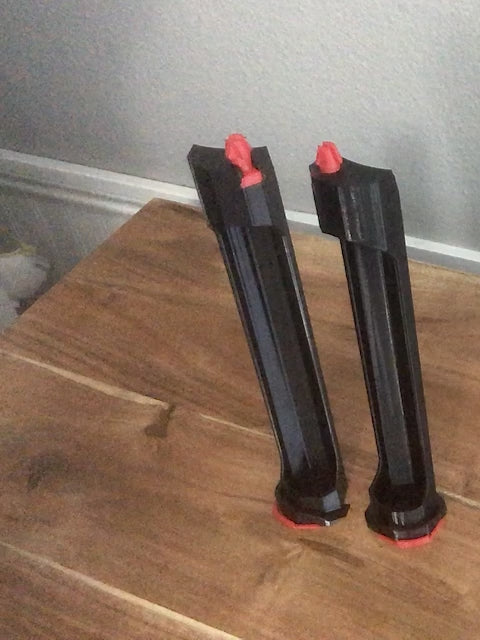
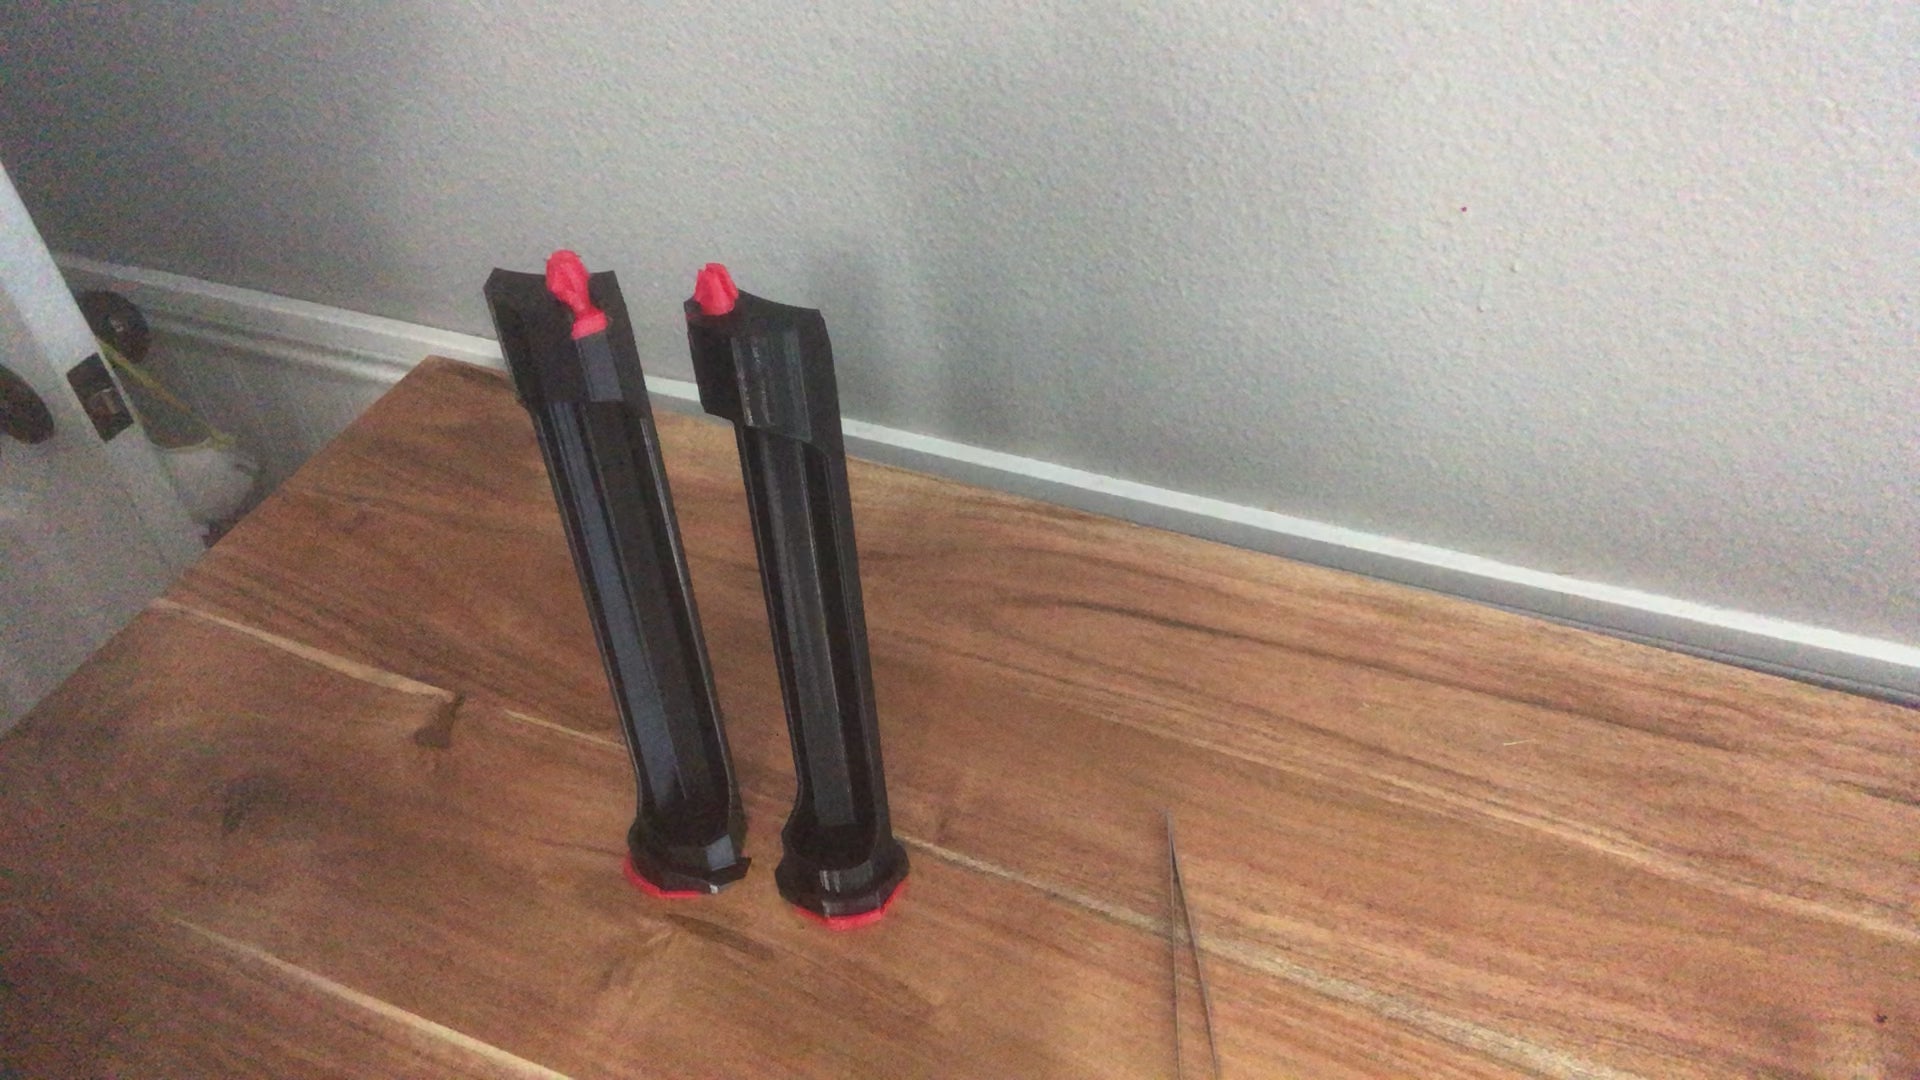
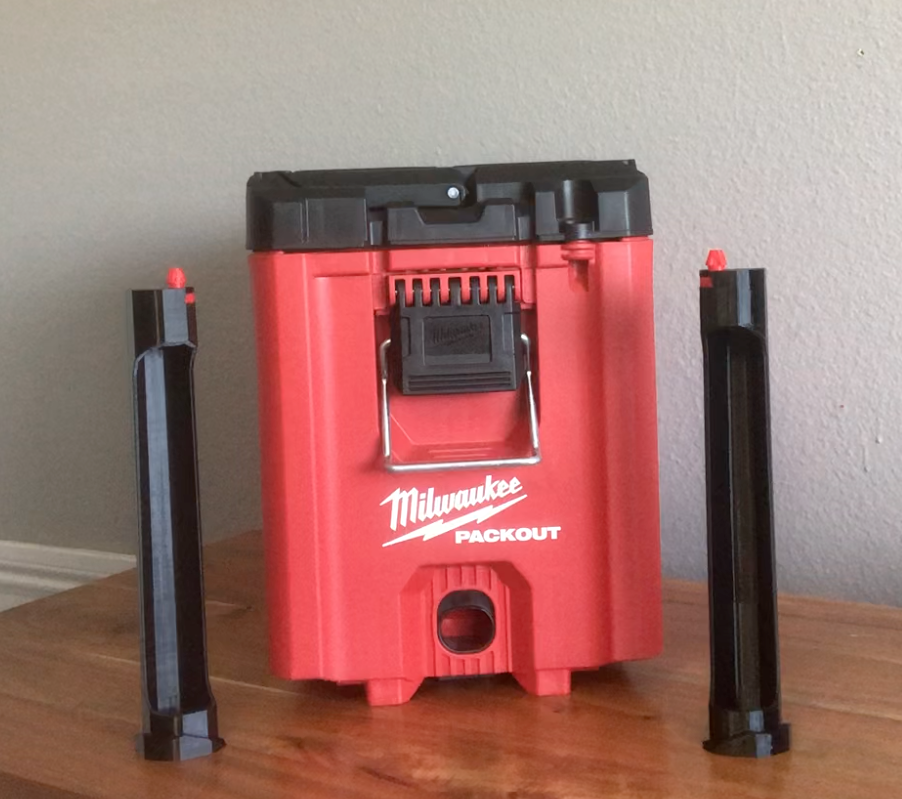
Inserts are designed with an A & B orientation, red flexible tips should be facing towards the center of the tool box
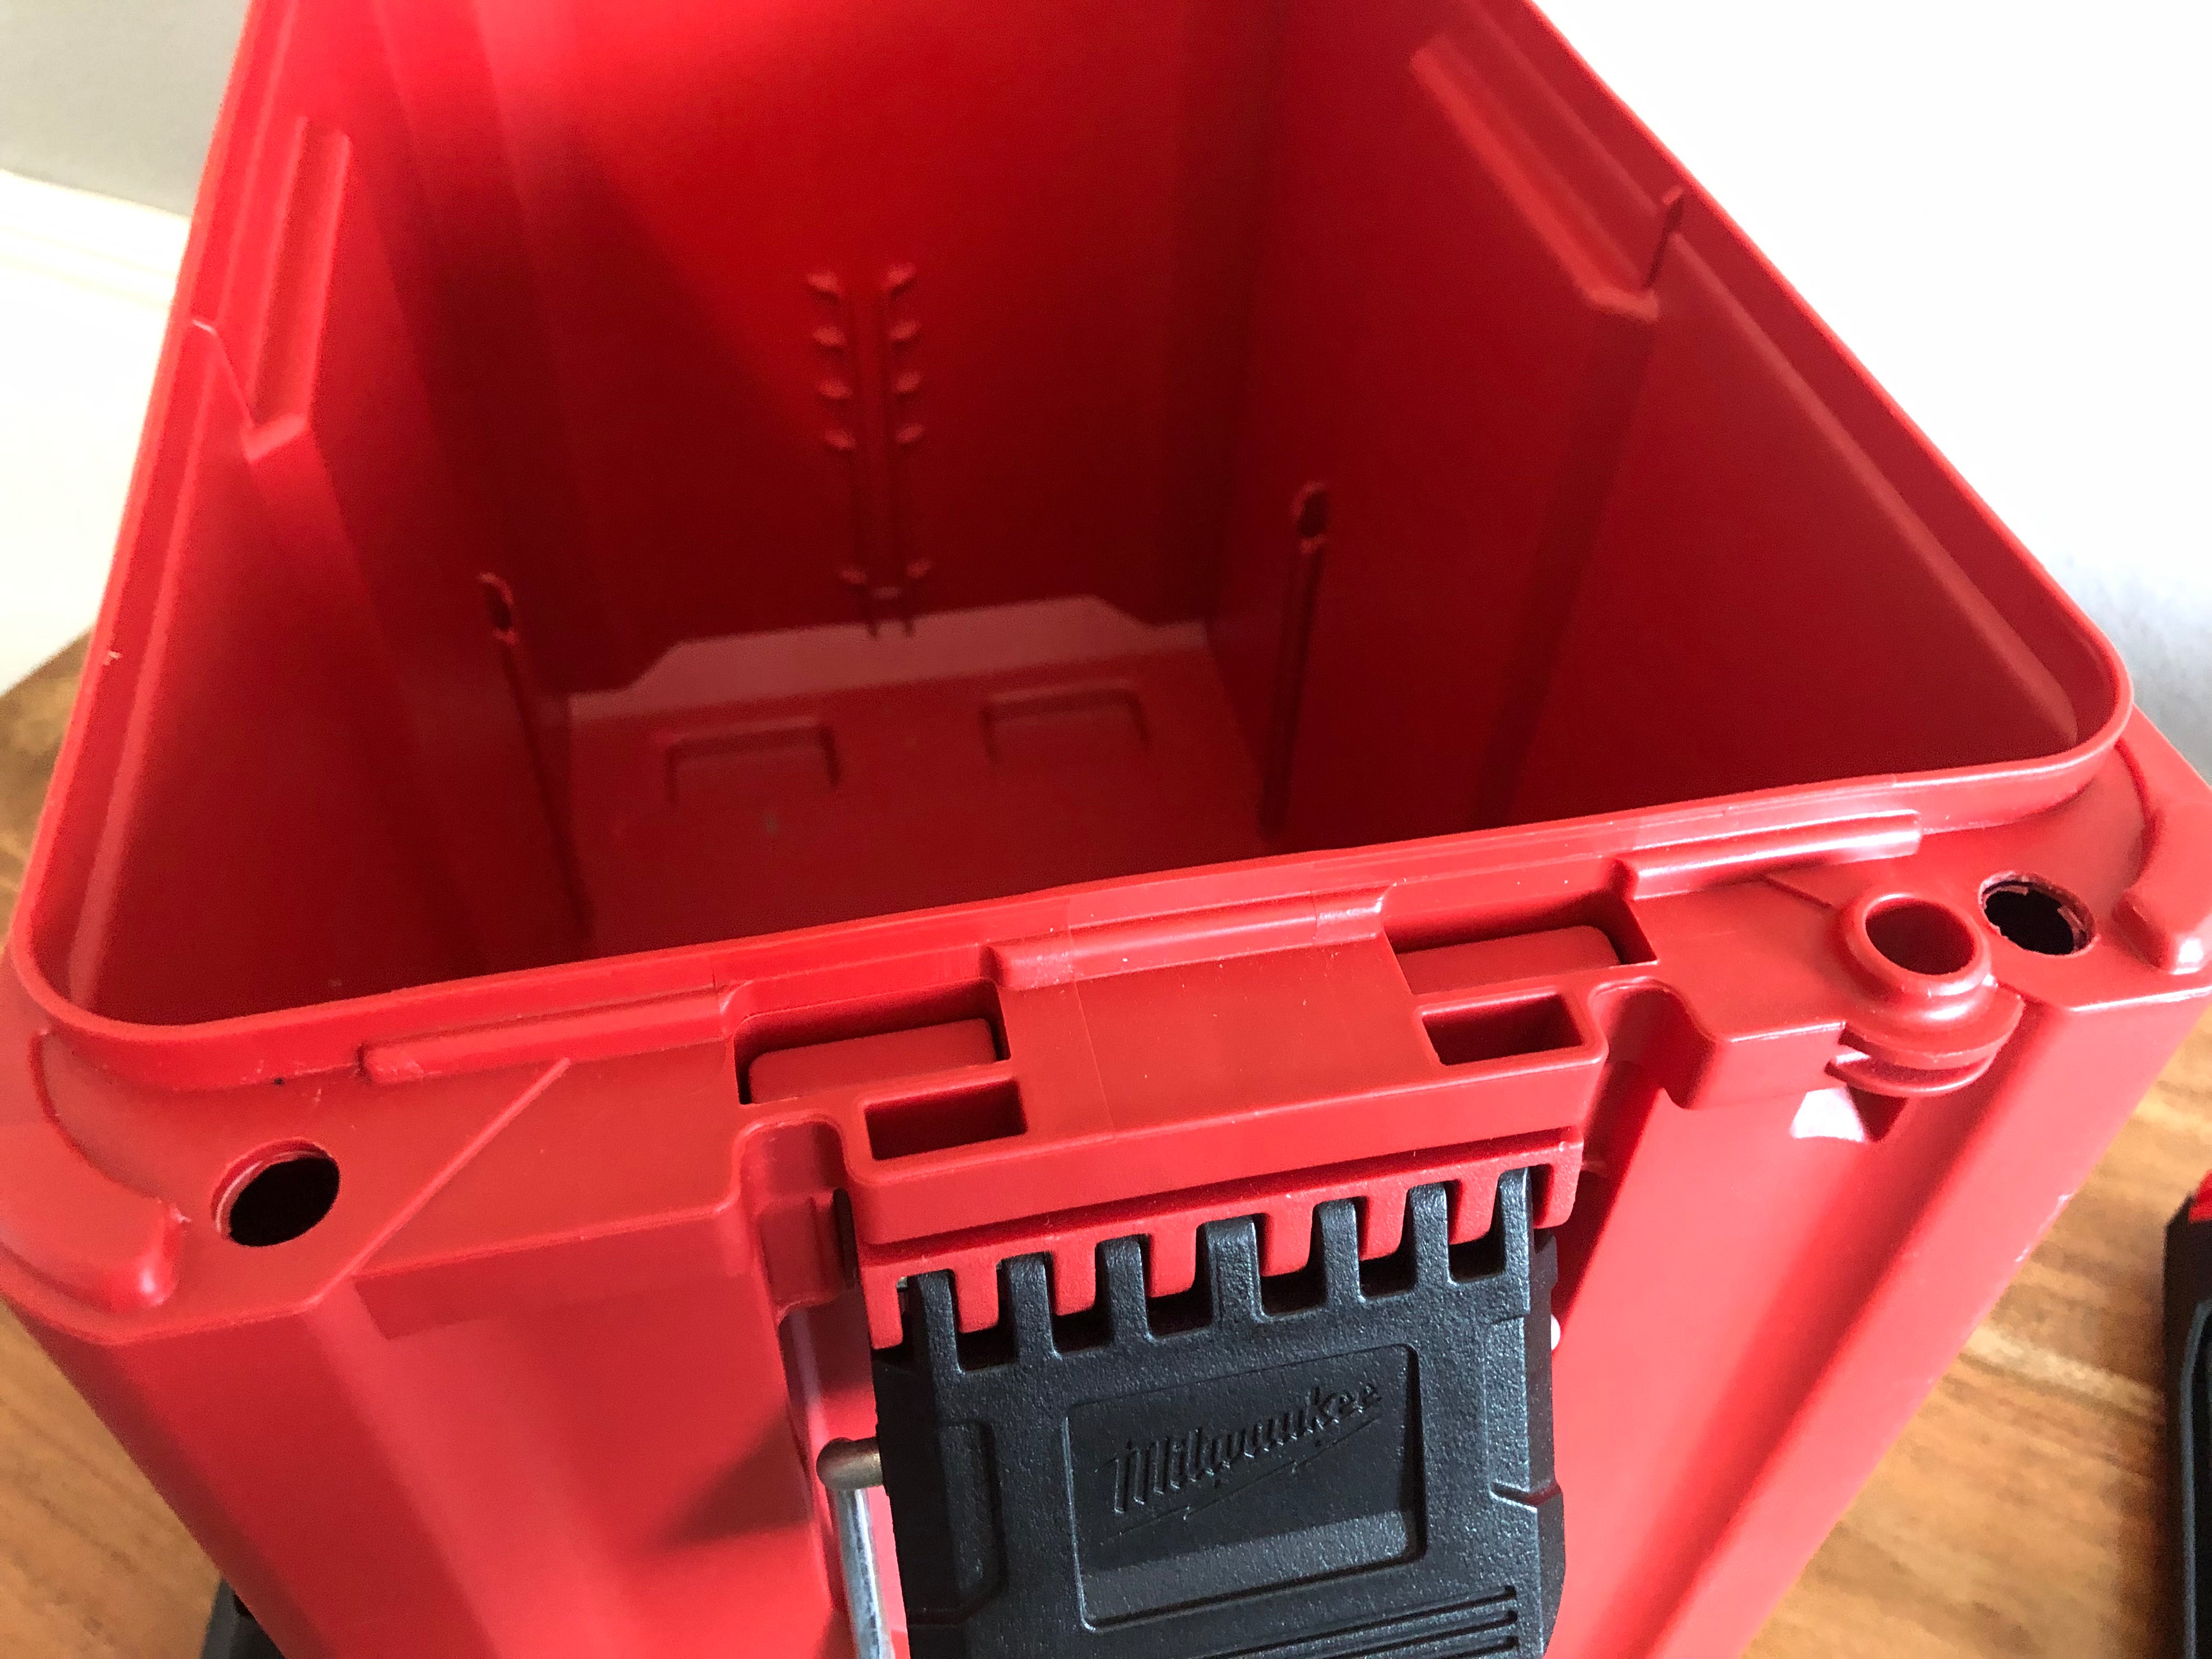
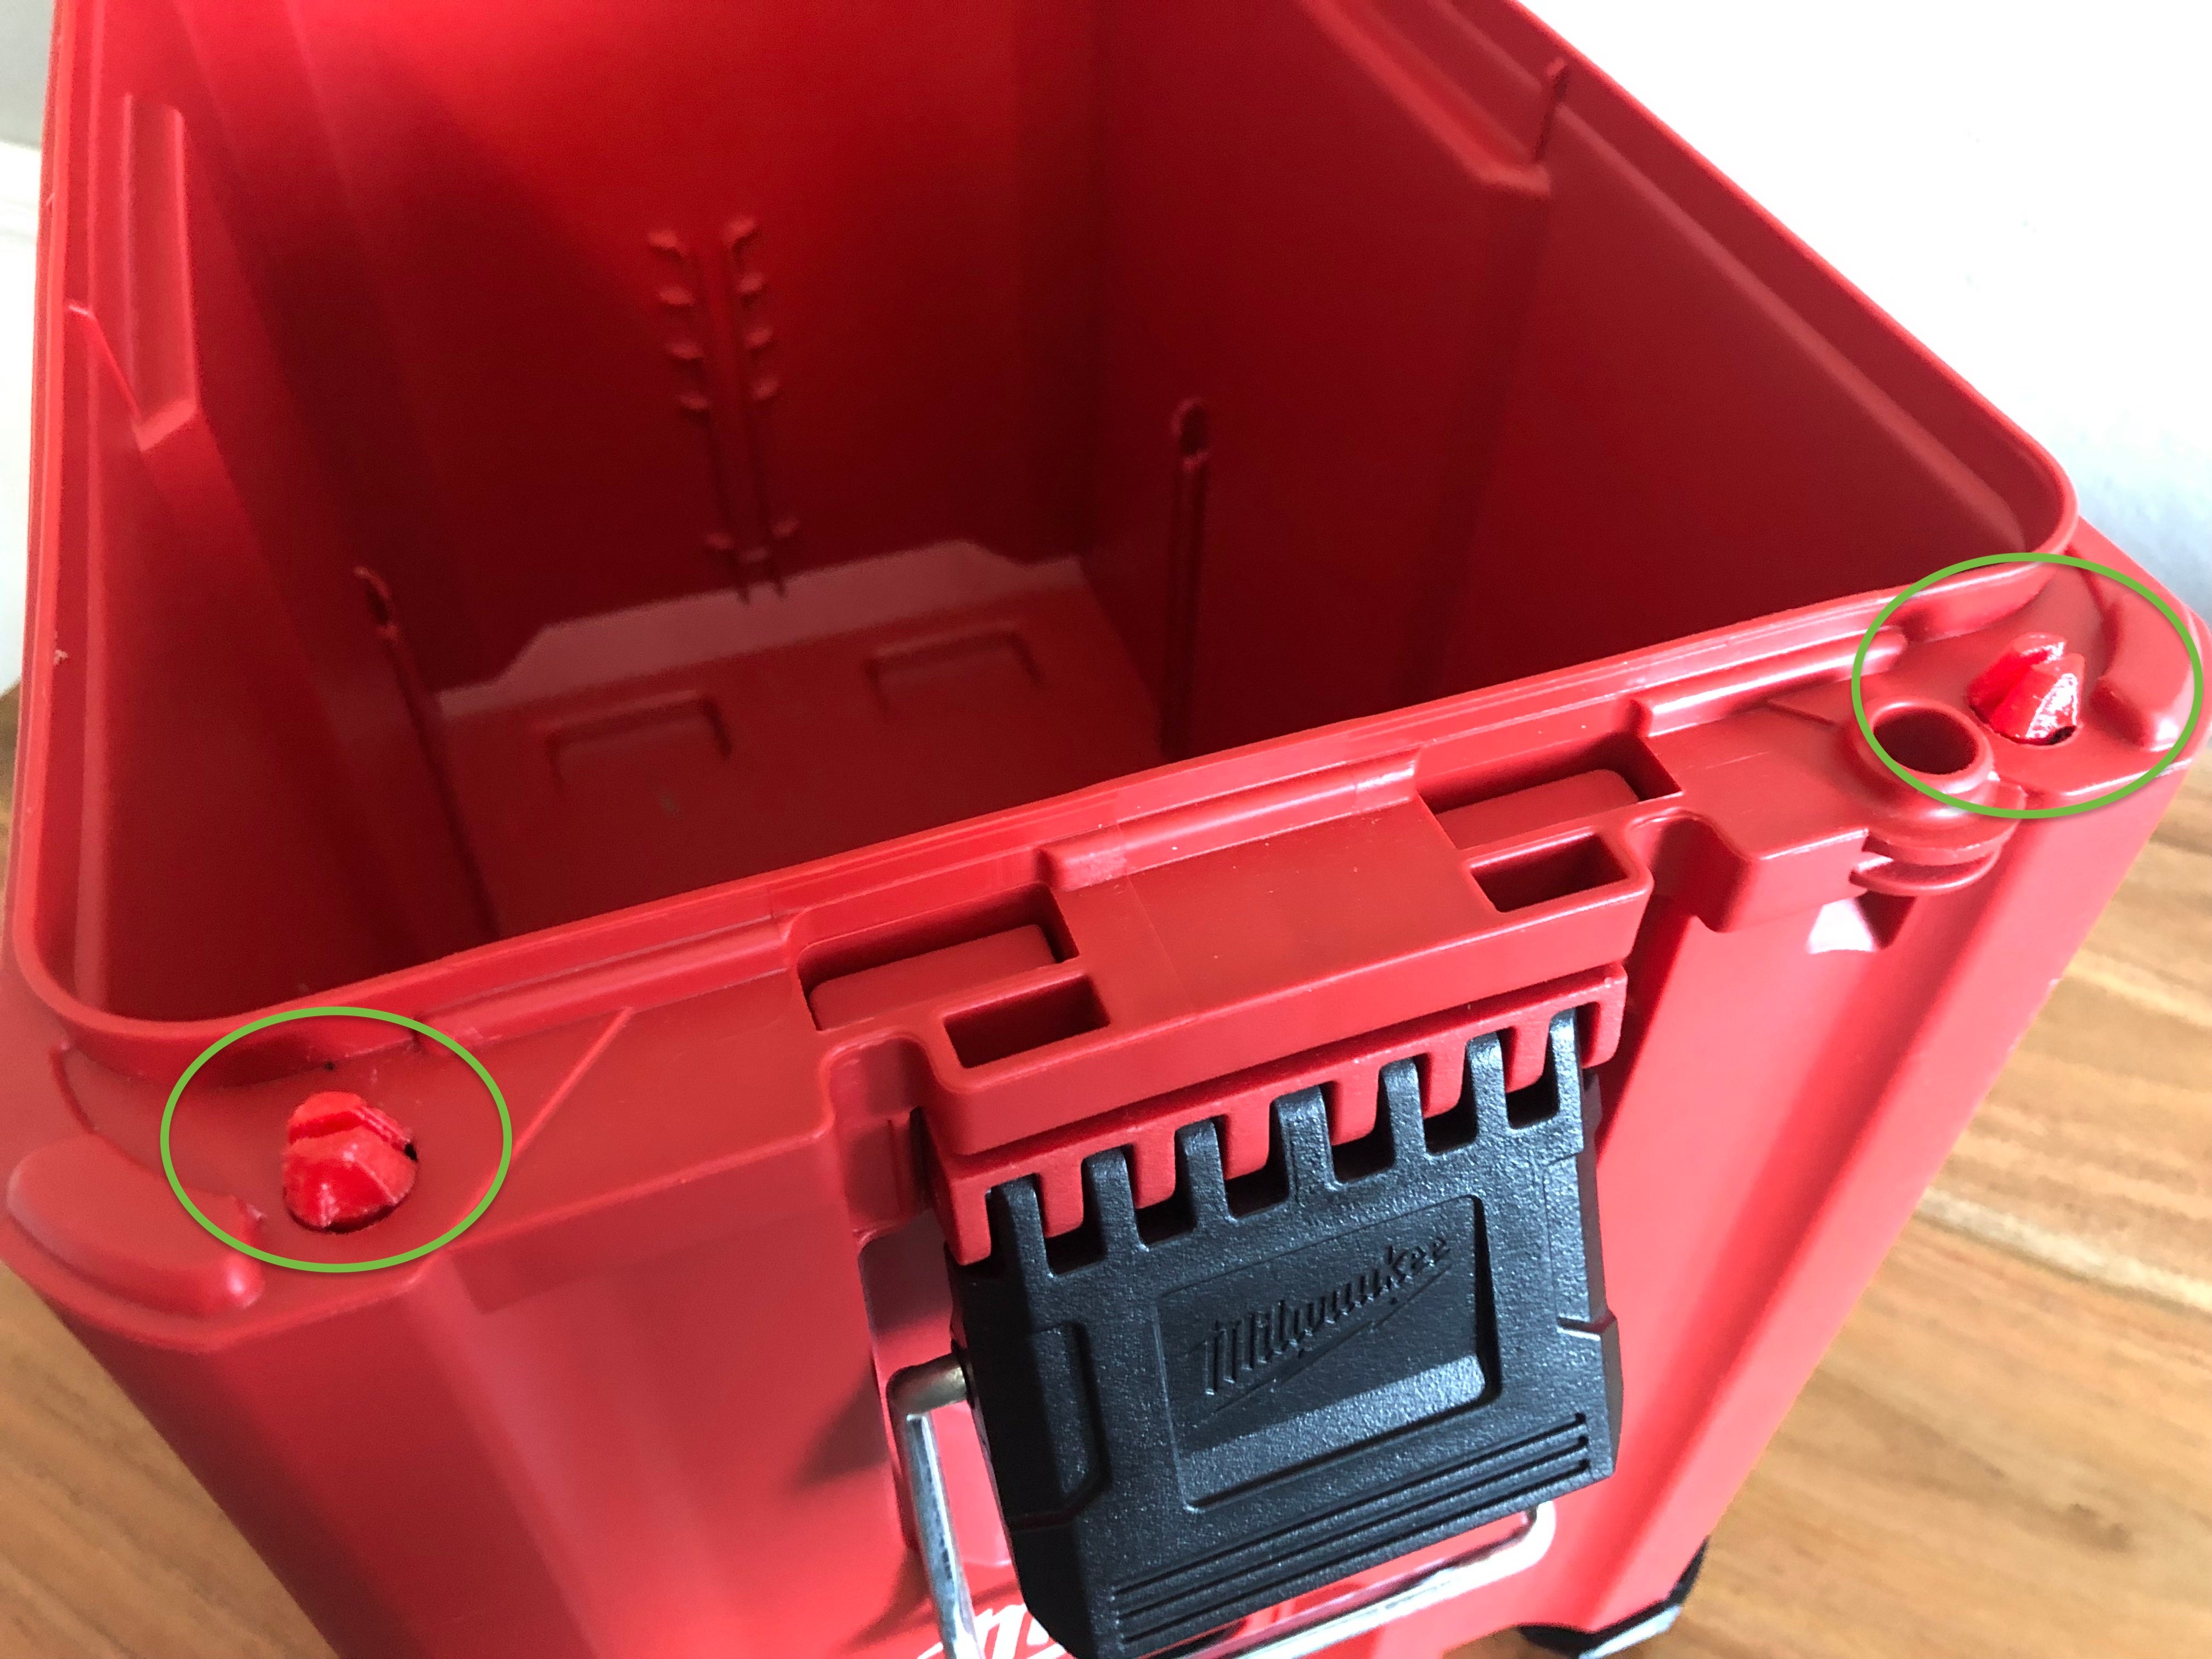
The flexible tips should protrude through the top of the box, which gives the retention needed to keep them in place.
Install Contact Pads
Lower contact pads are designed to be removable to aid in use or in replacement due to wear.
The first image shows the Tool Box Inserts, referenced as A & B ( from left to right as you are facing the tool box).
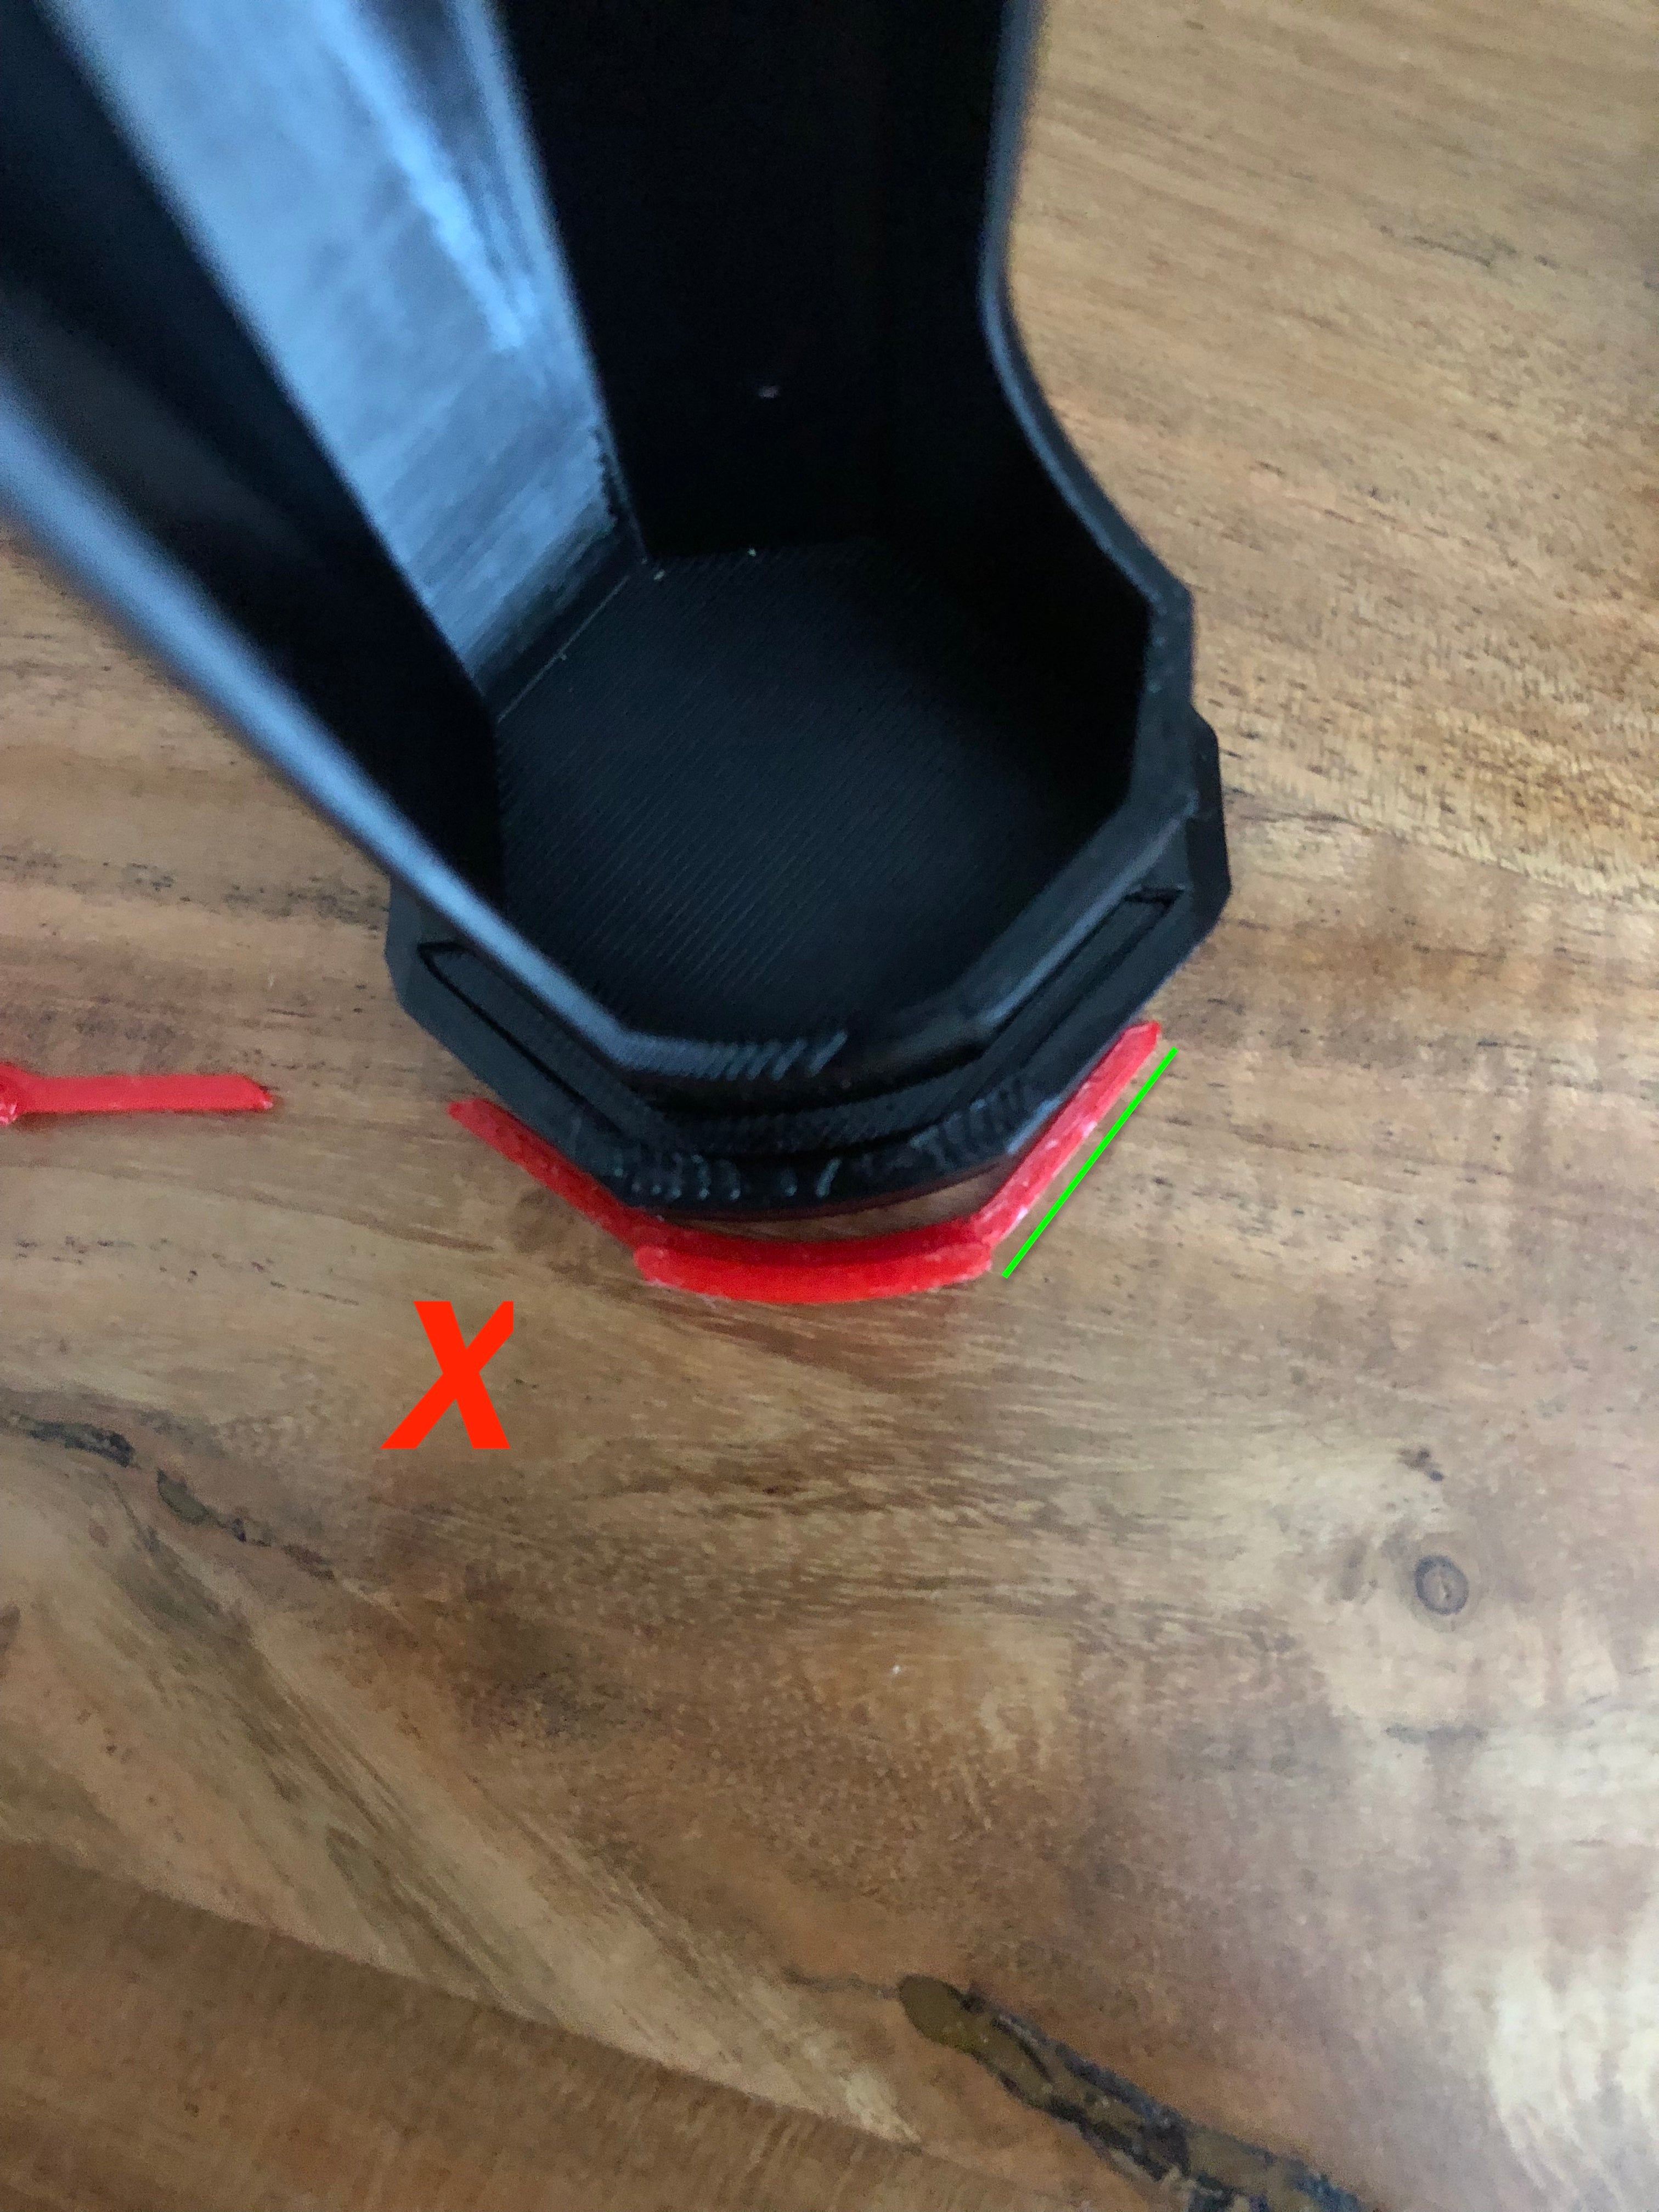
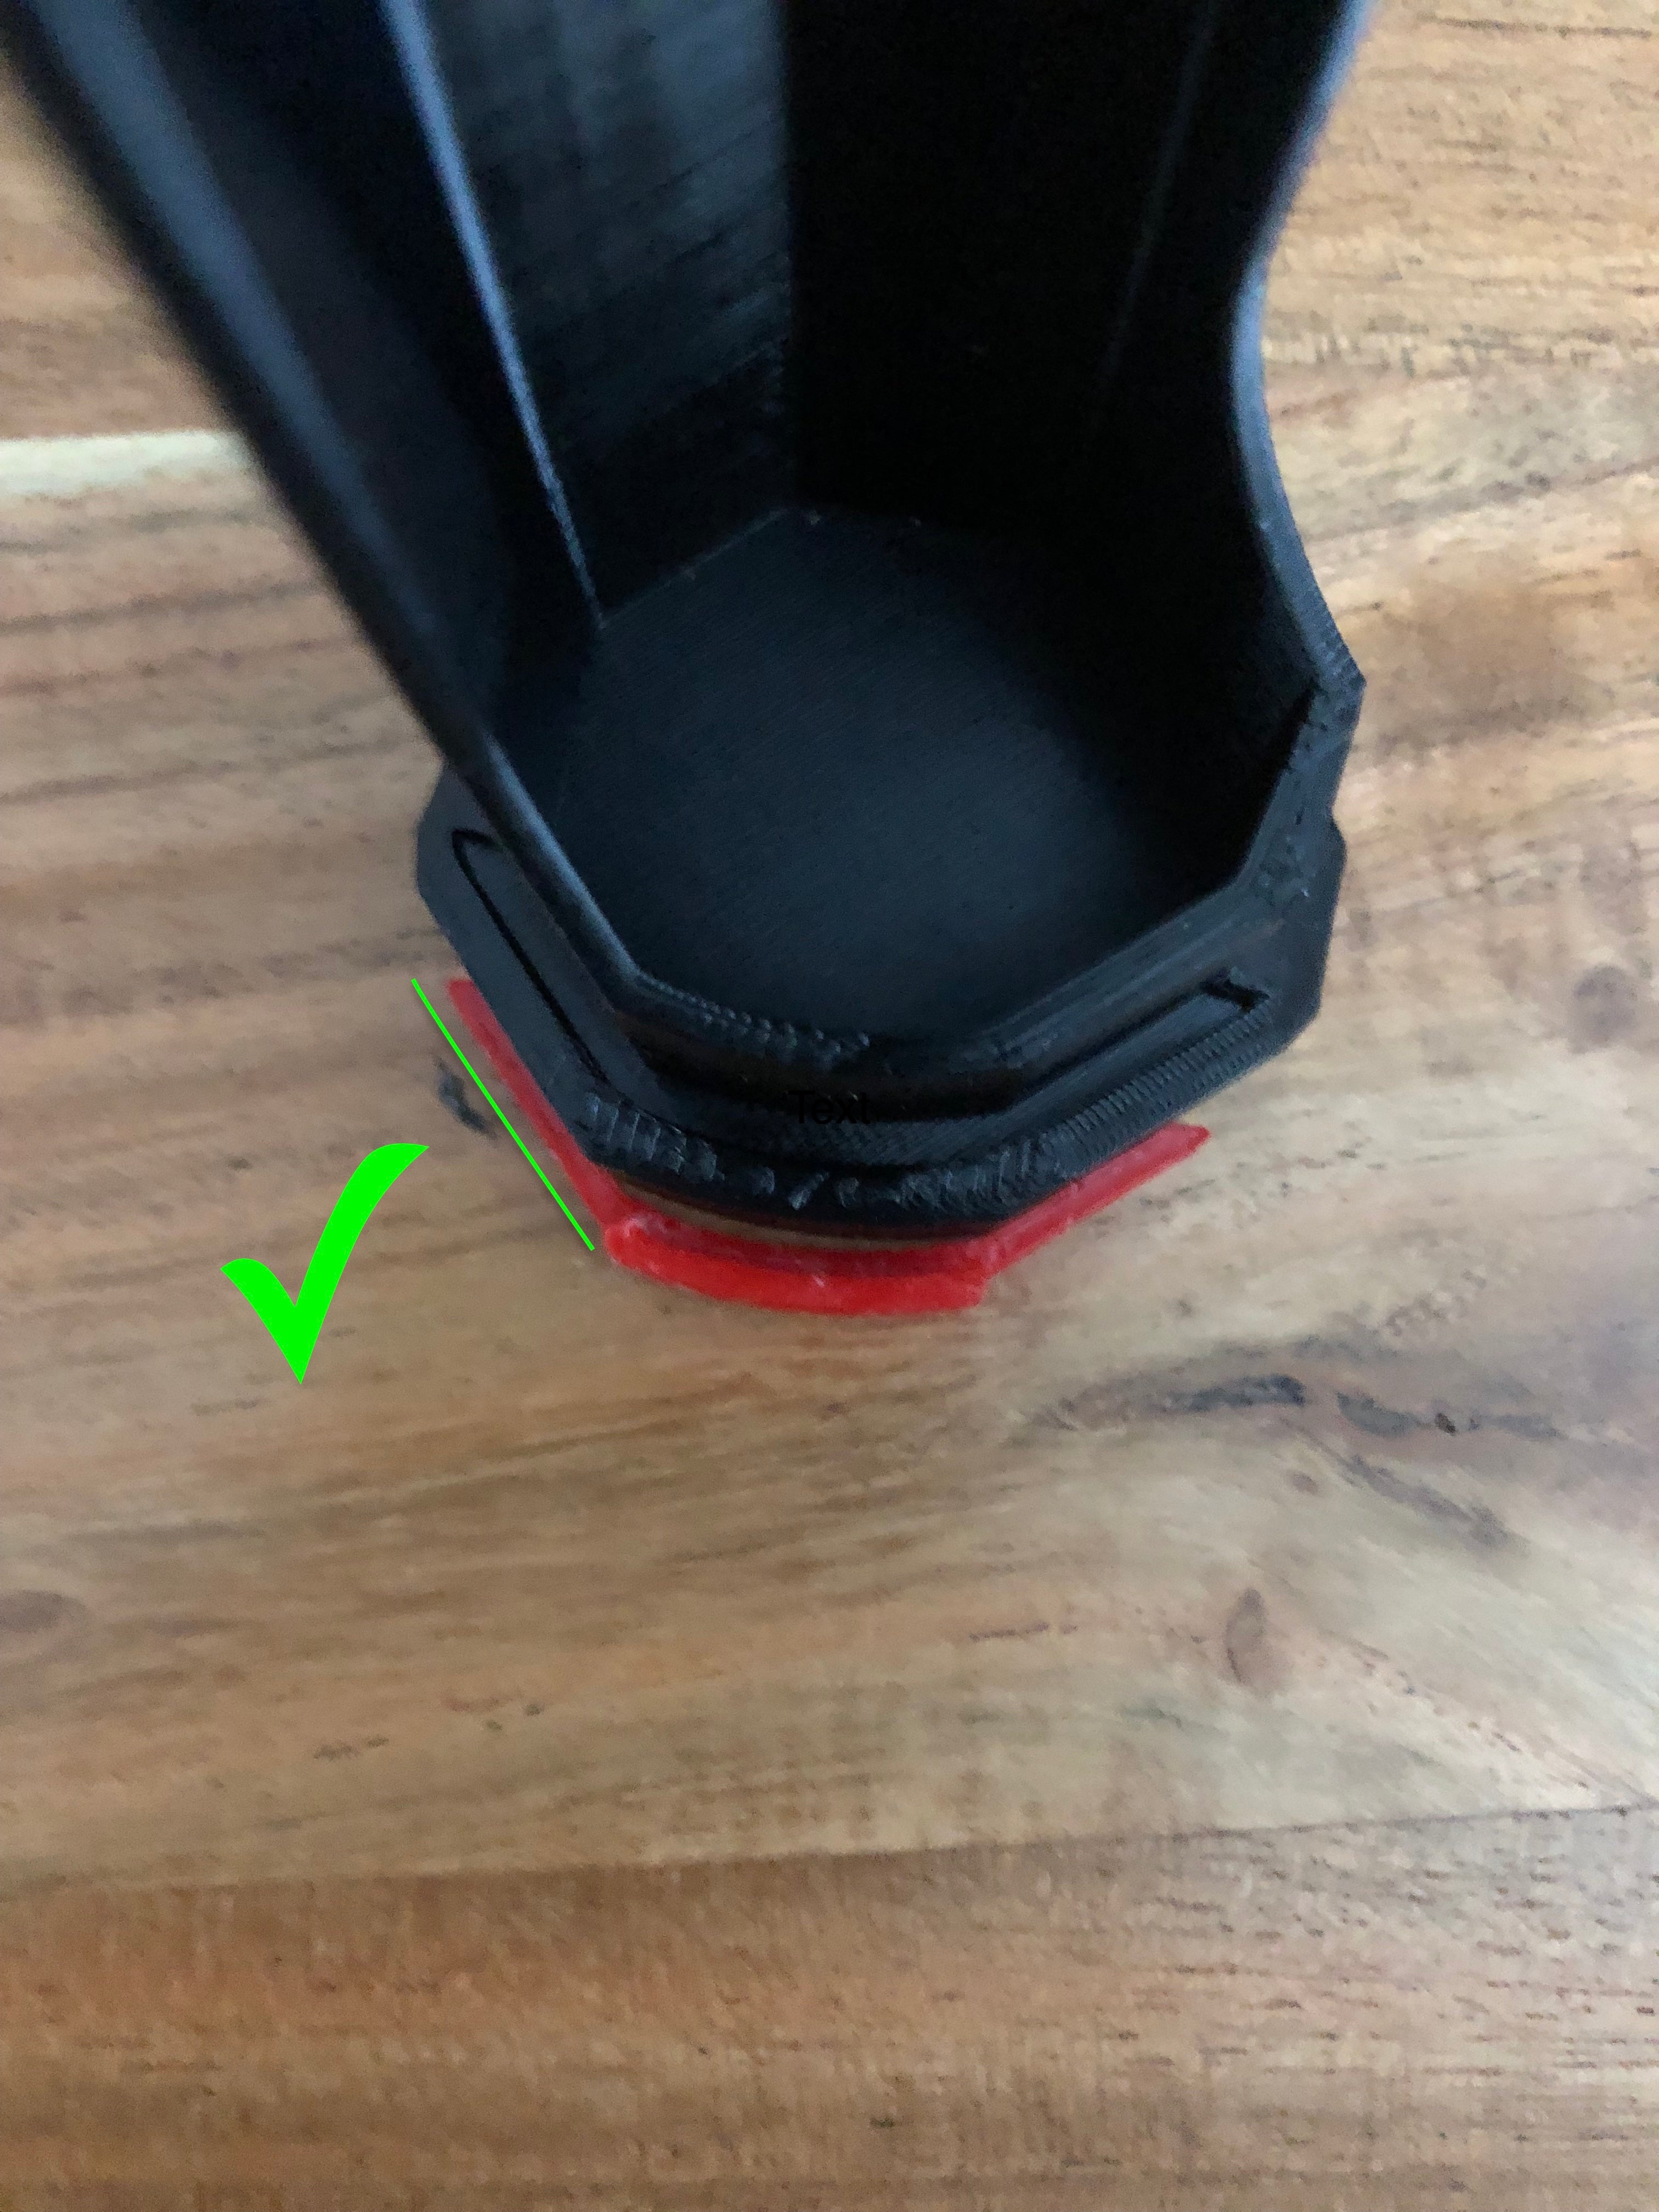
The contact pads are shown just below the Inserts, there is a long leg, shown by the green line, which gives the proper orientation against the base of the Insert
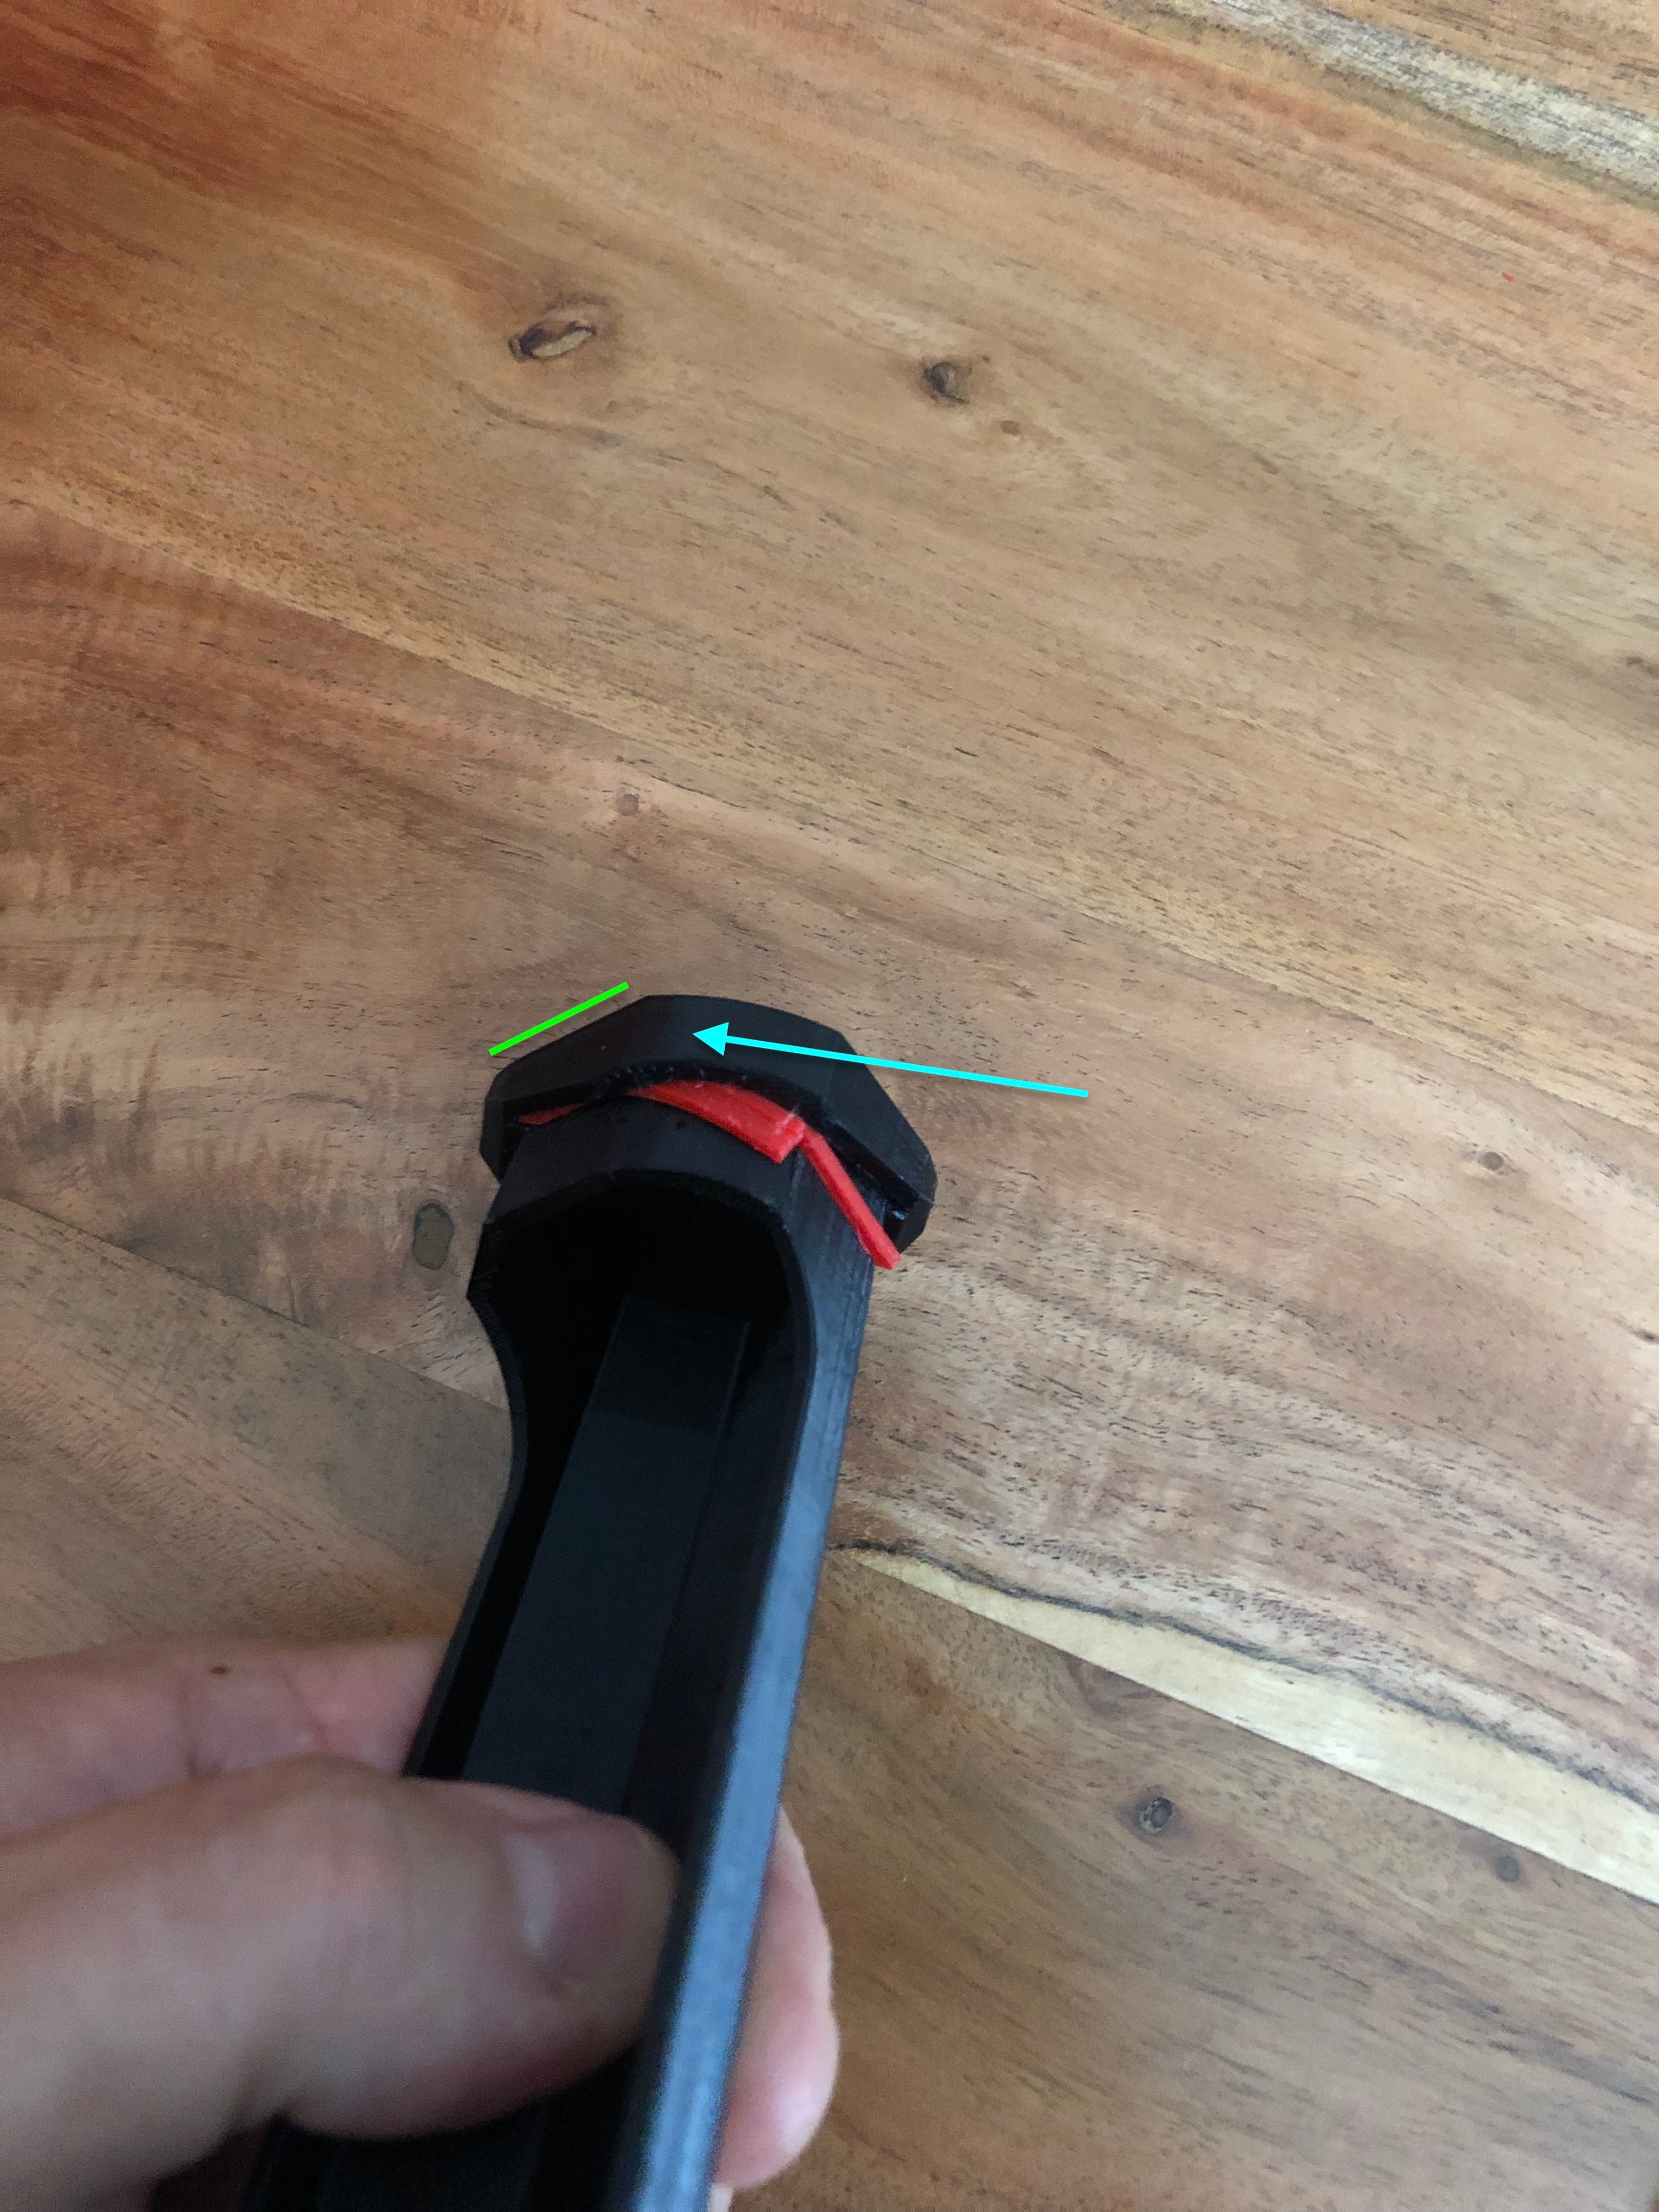
When installing the lower contact pad begin by sliding the longer leg through the middle portion around the base, then push the center part of the insert down with your finger,nail or tweezers, flat screwdriver extra...
Removal of Contact Pads
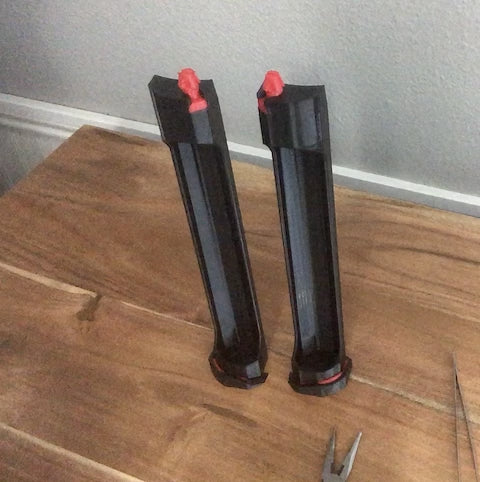
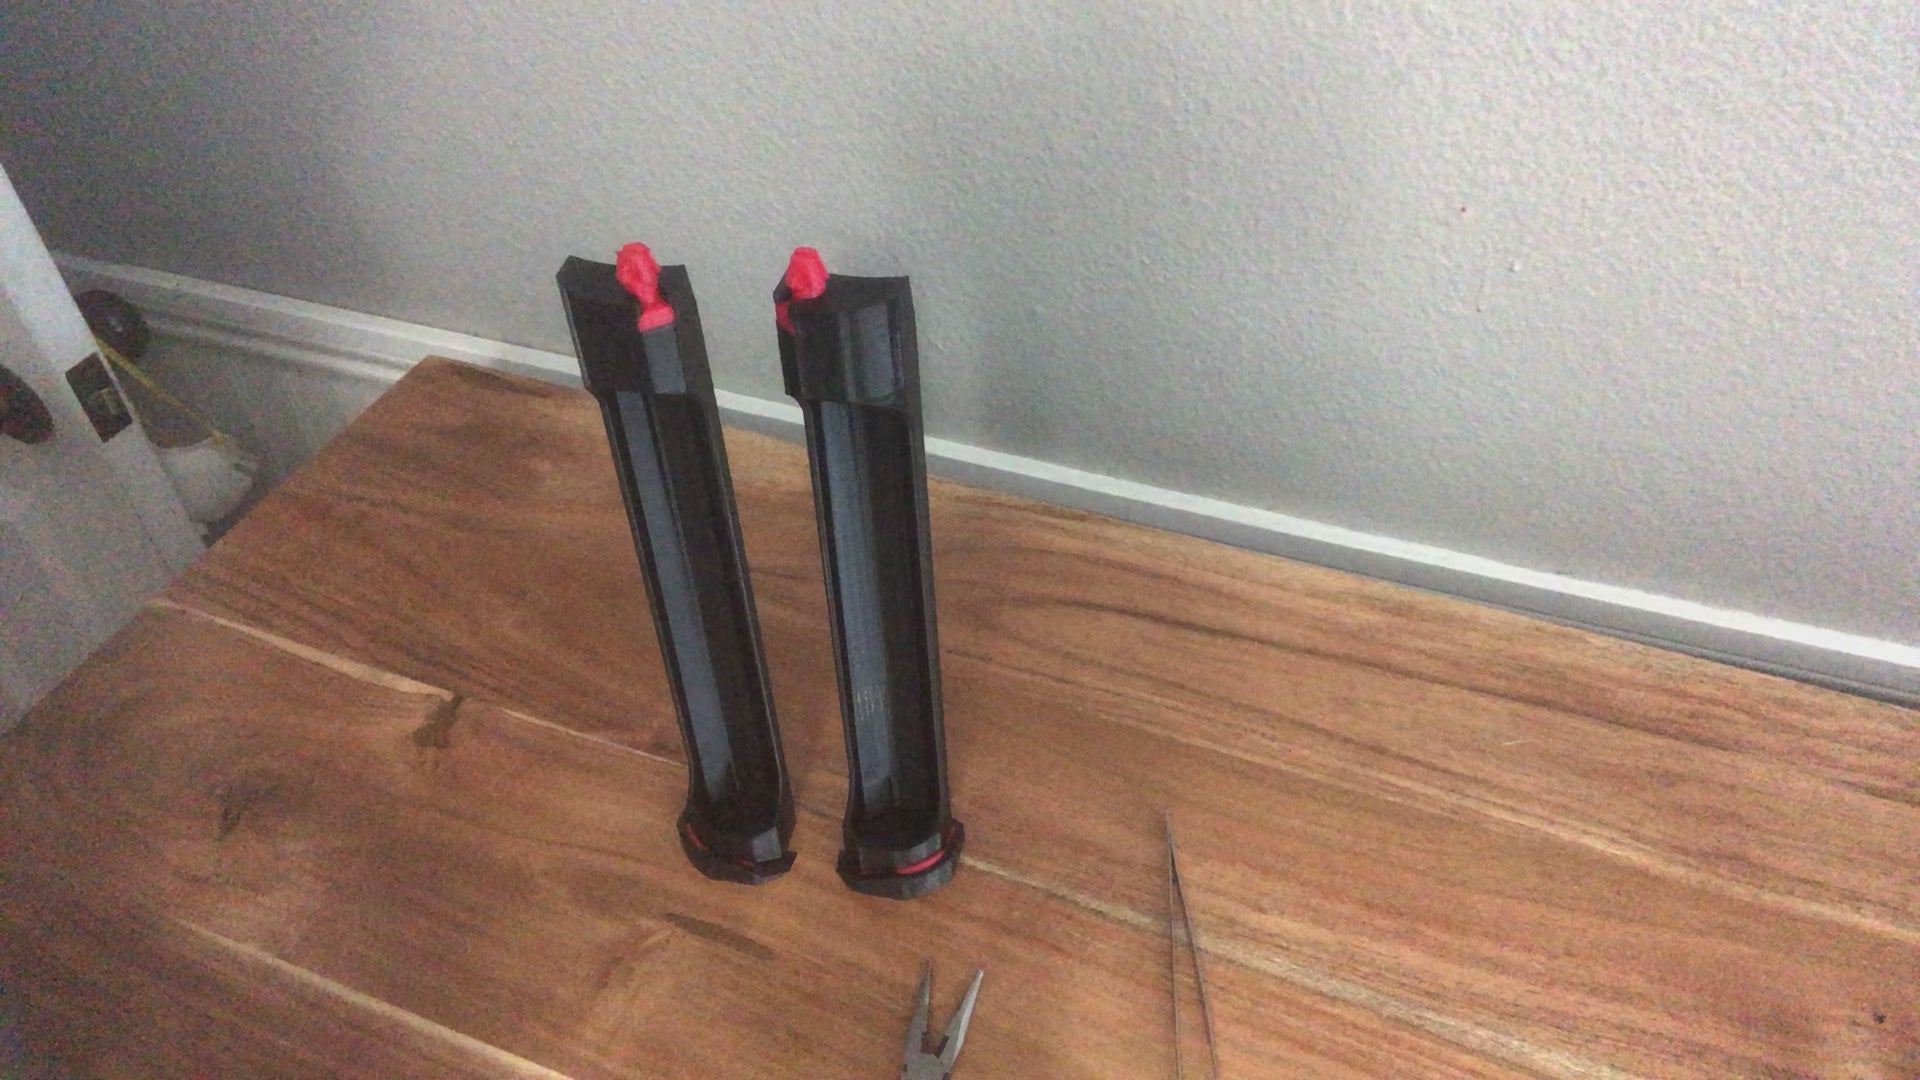
Removing the contact pads requires a small needle nose pliers to pull on the larger tab part (see second video below)
