Side Mount Instructions
Below are the step by step instructions to guide you through the proper installation for both the Single Side Mount Brackets and the Dual Side Mount Brackets.
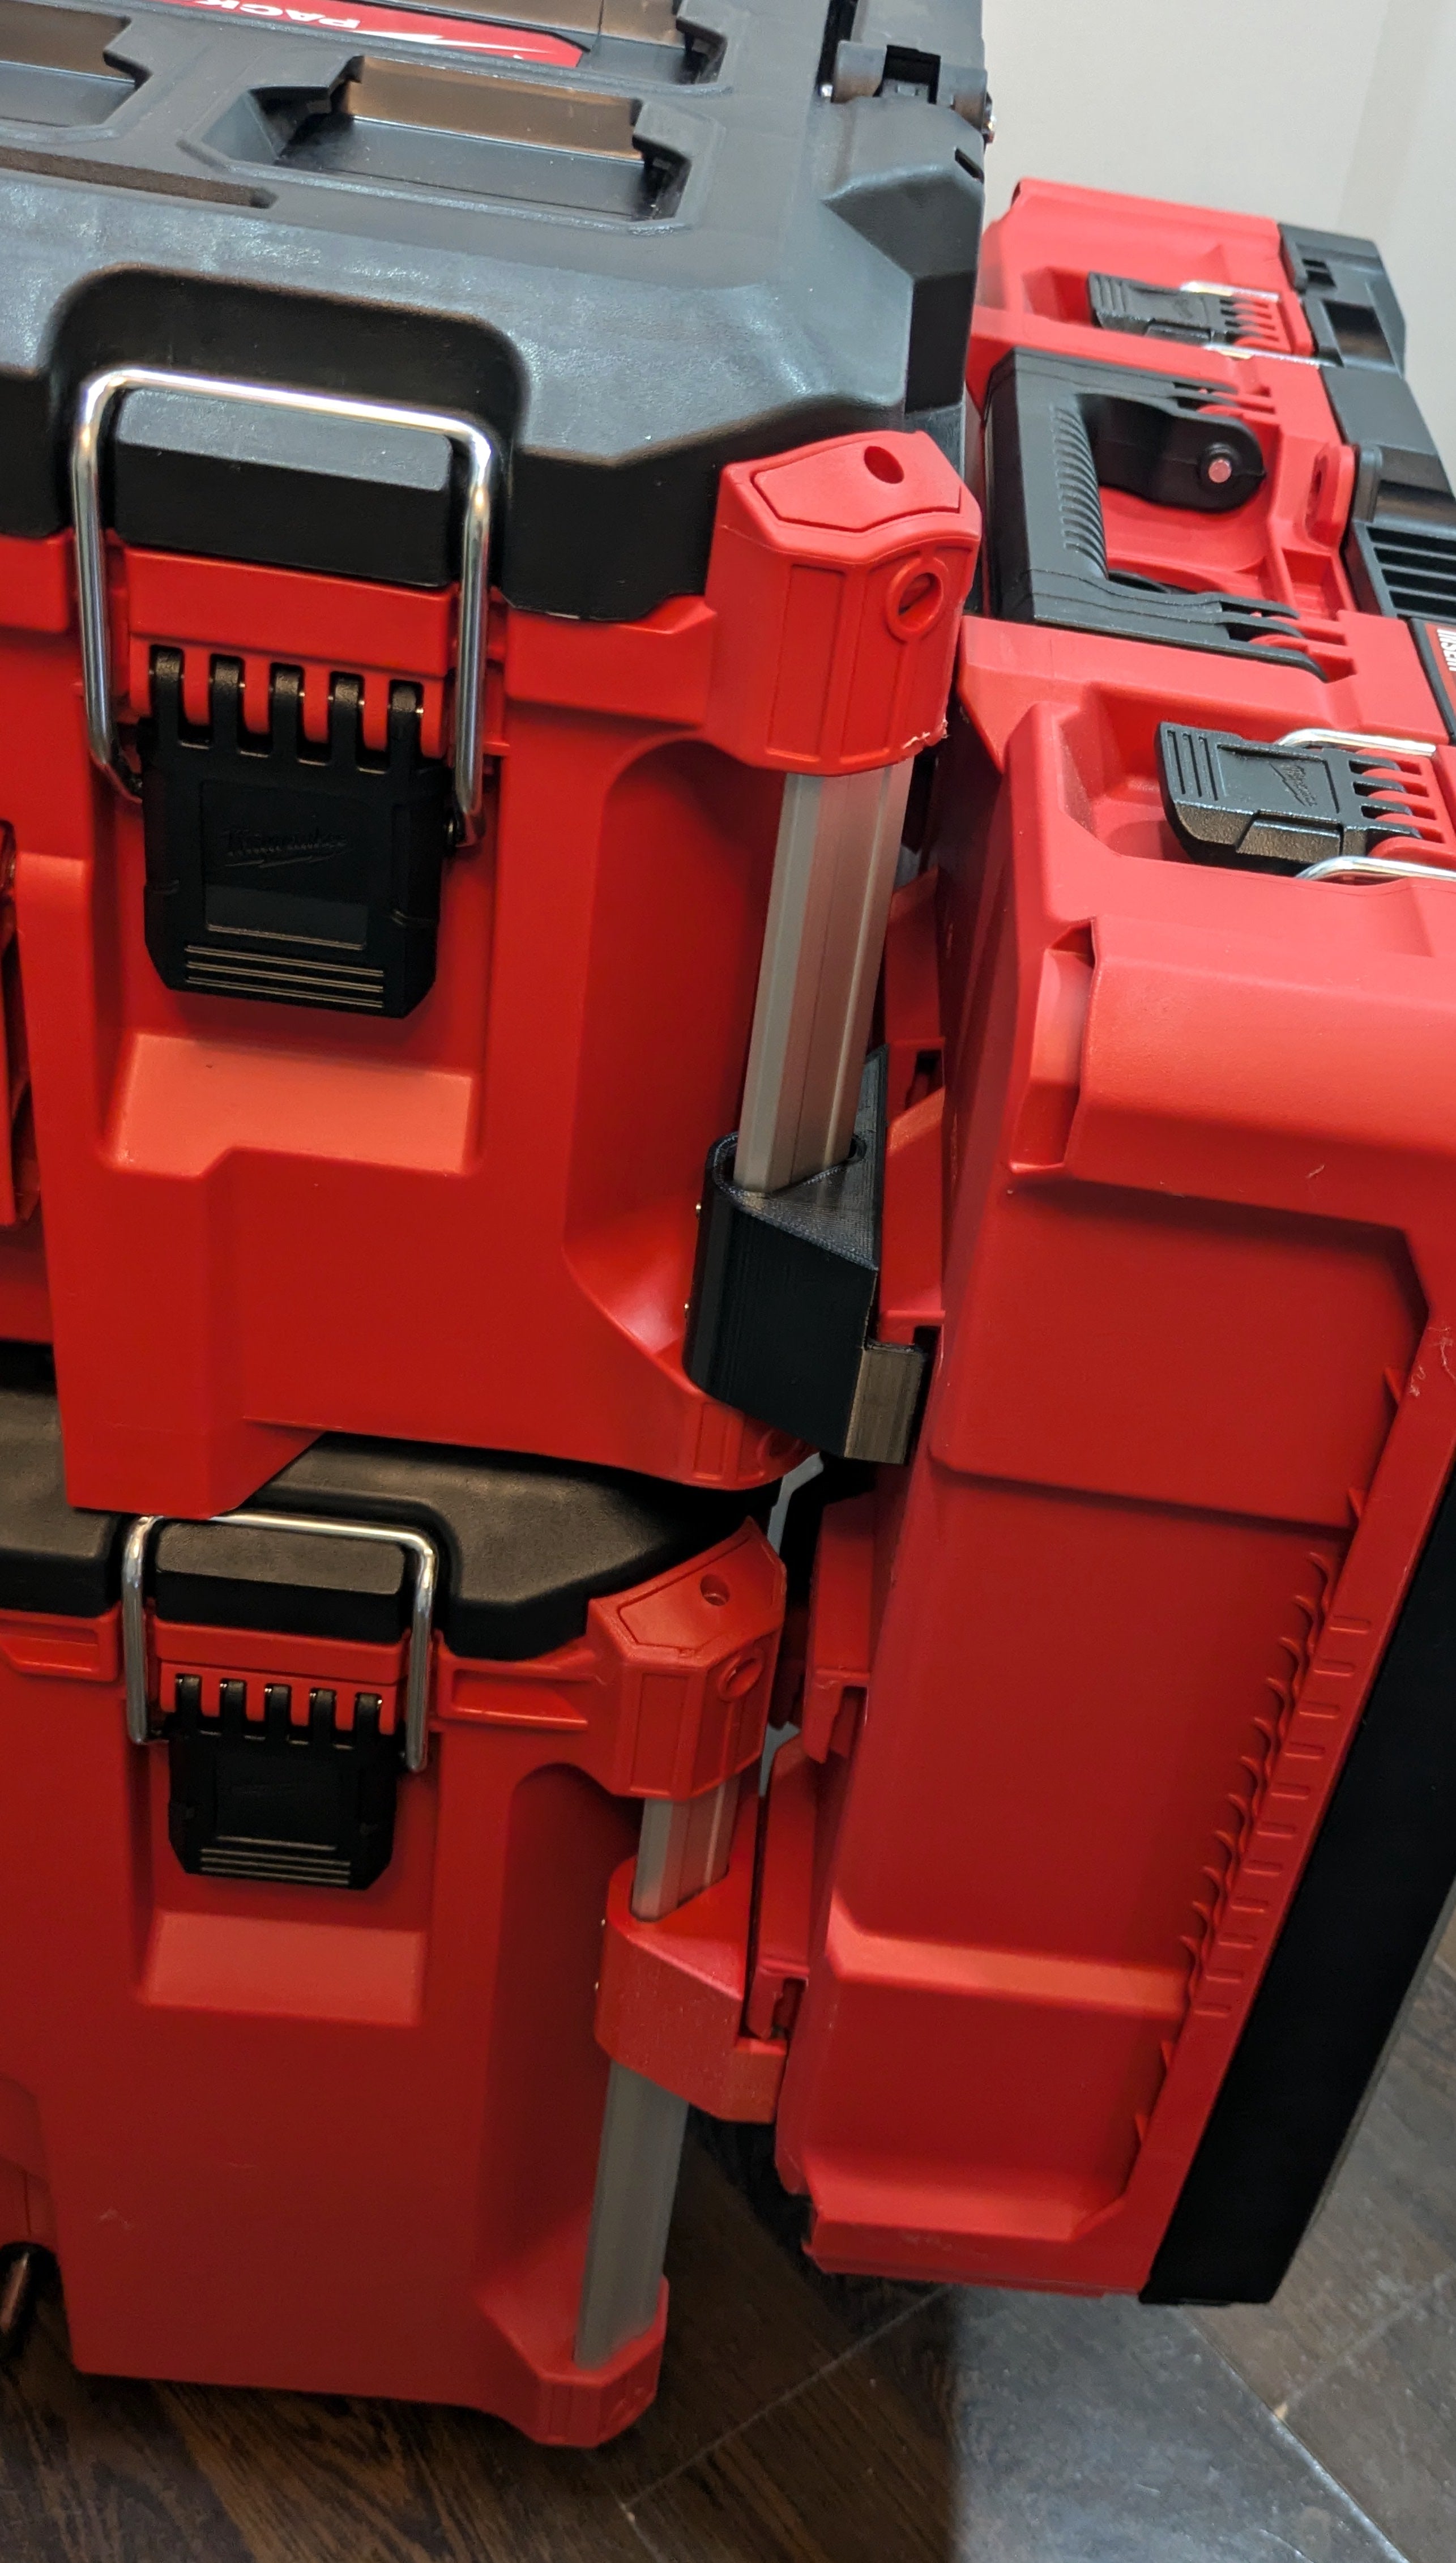
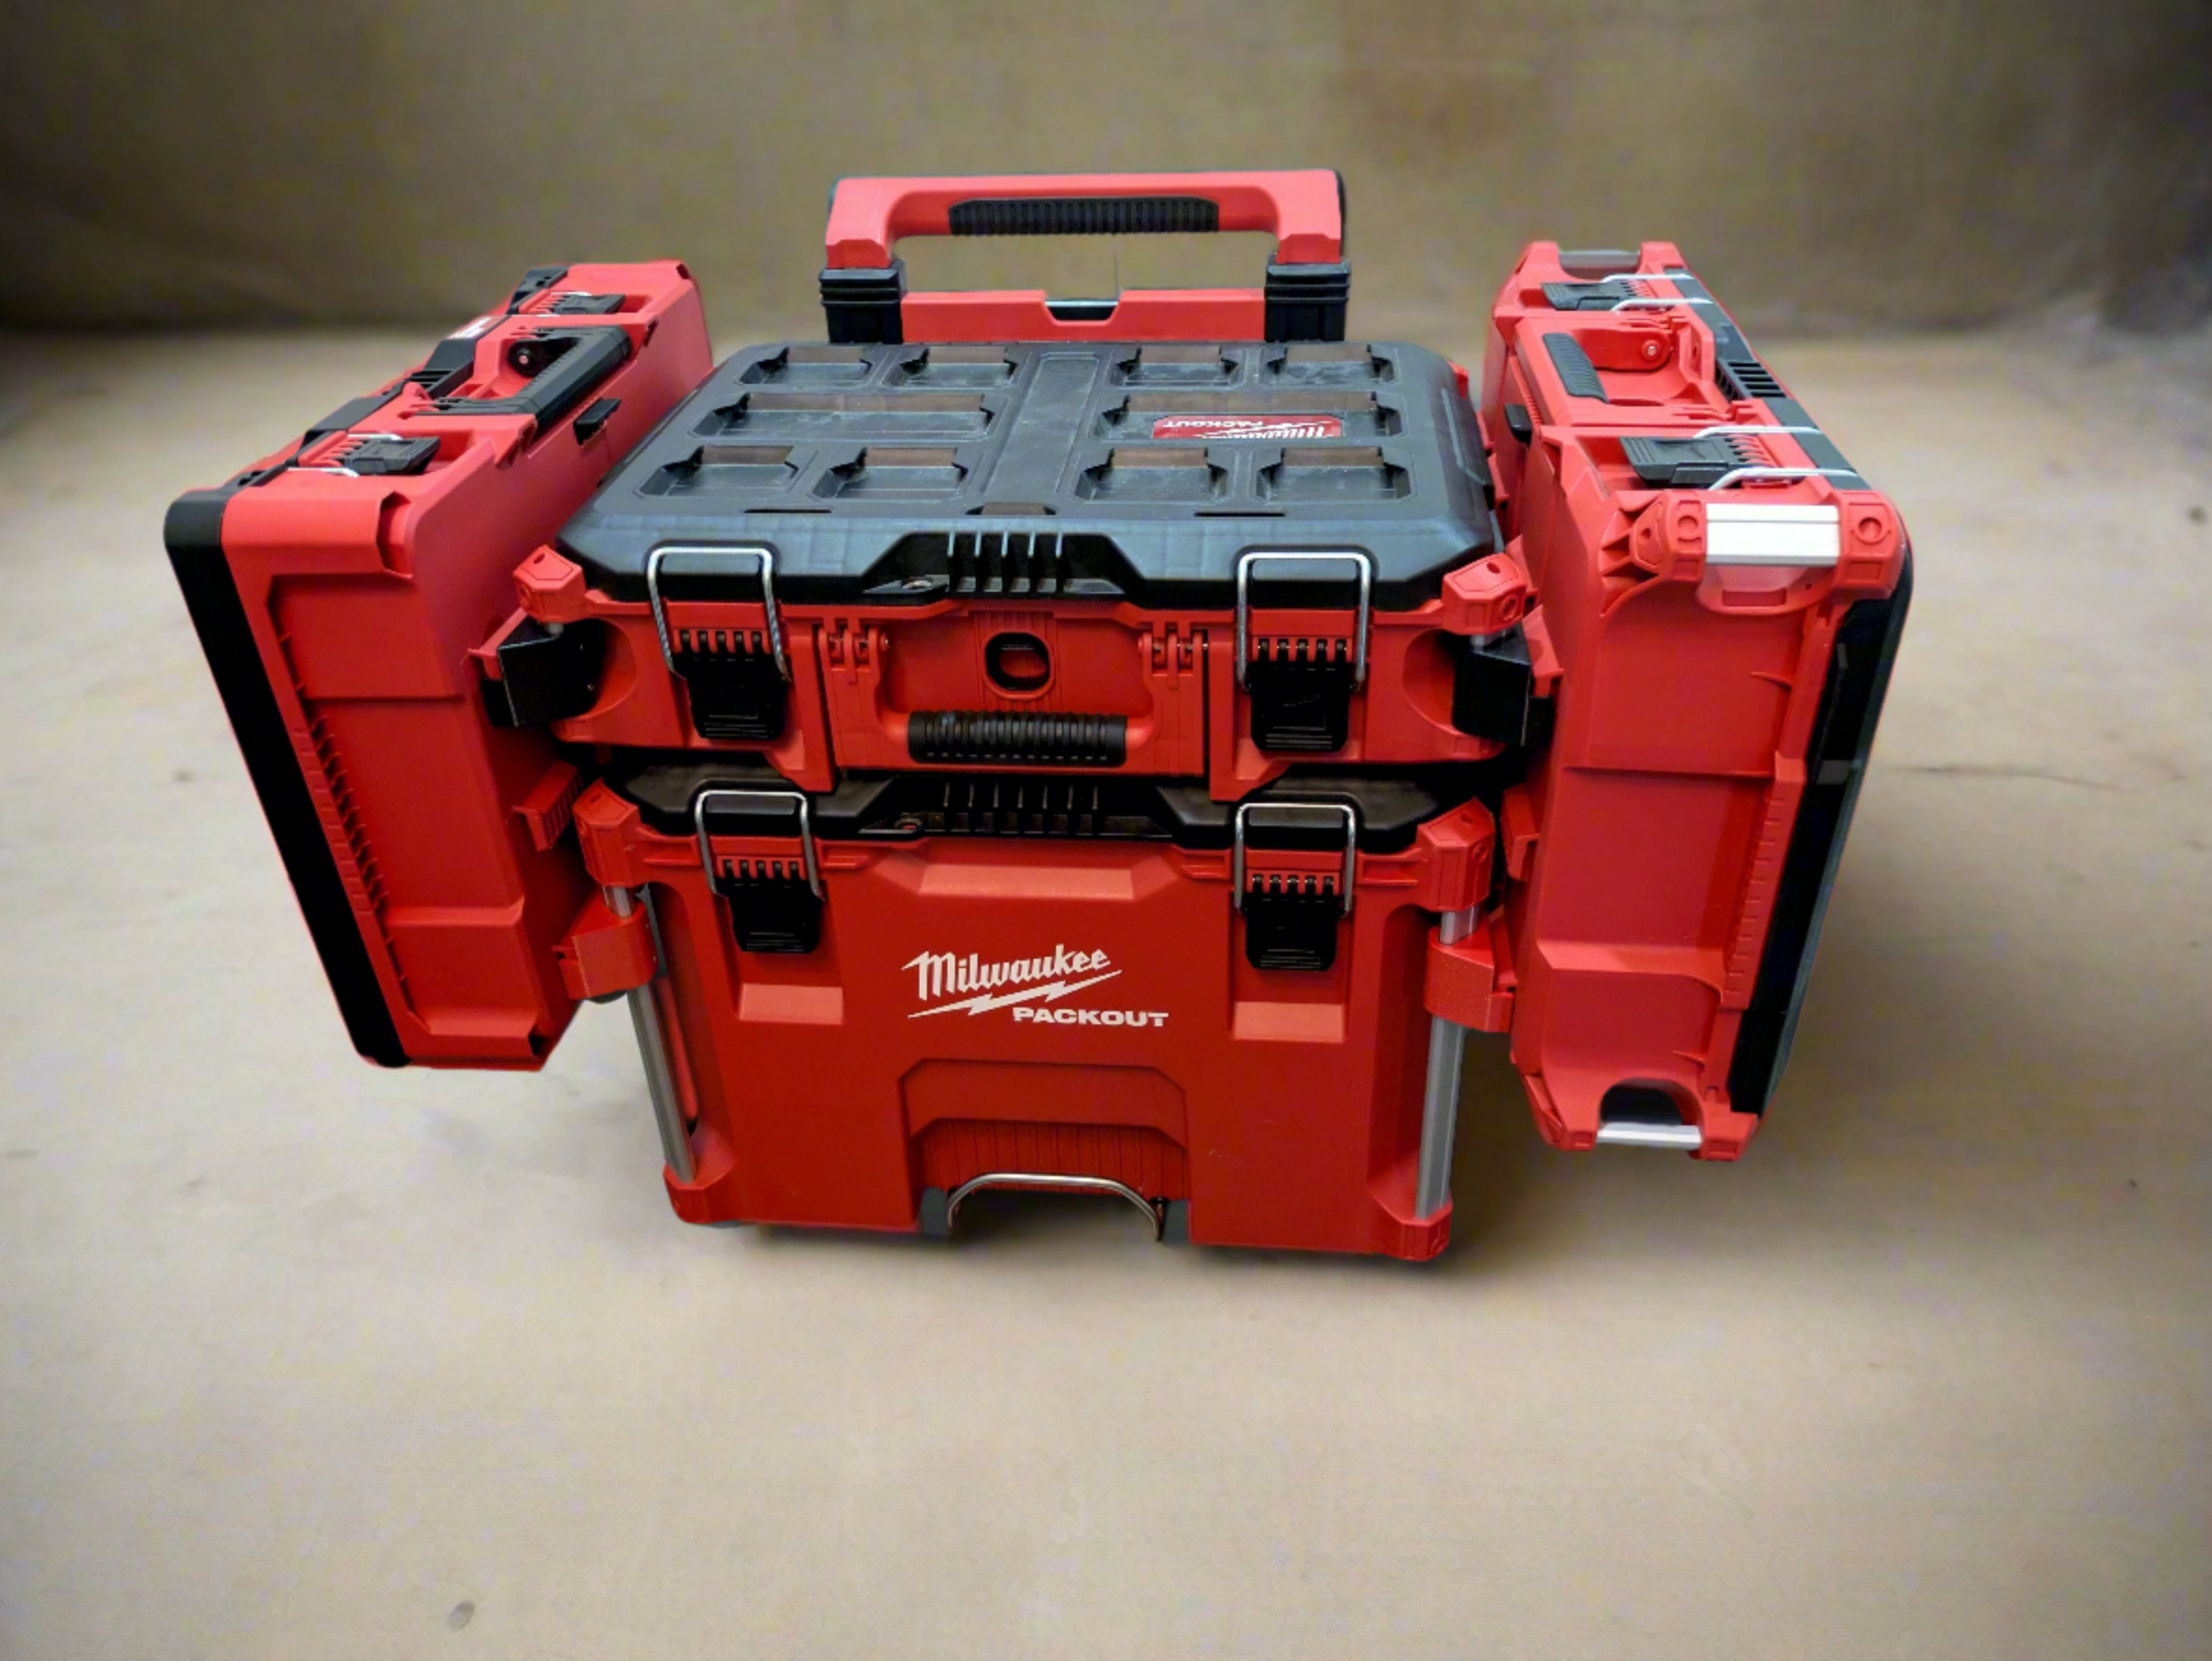
Utilizing the side mounts with Low-Profile Organizers on each side, the overall width is 28", having Deep Organizers or Medium Tool Box the overall width is 35" (22" is std width of Packout Tool Boxes).
If only one side is used to hold a Low-Profile Organizer, the overall width is 25 1/2" allowing clearance through most doorways.
Removing Side Rails
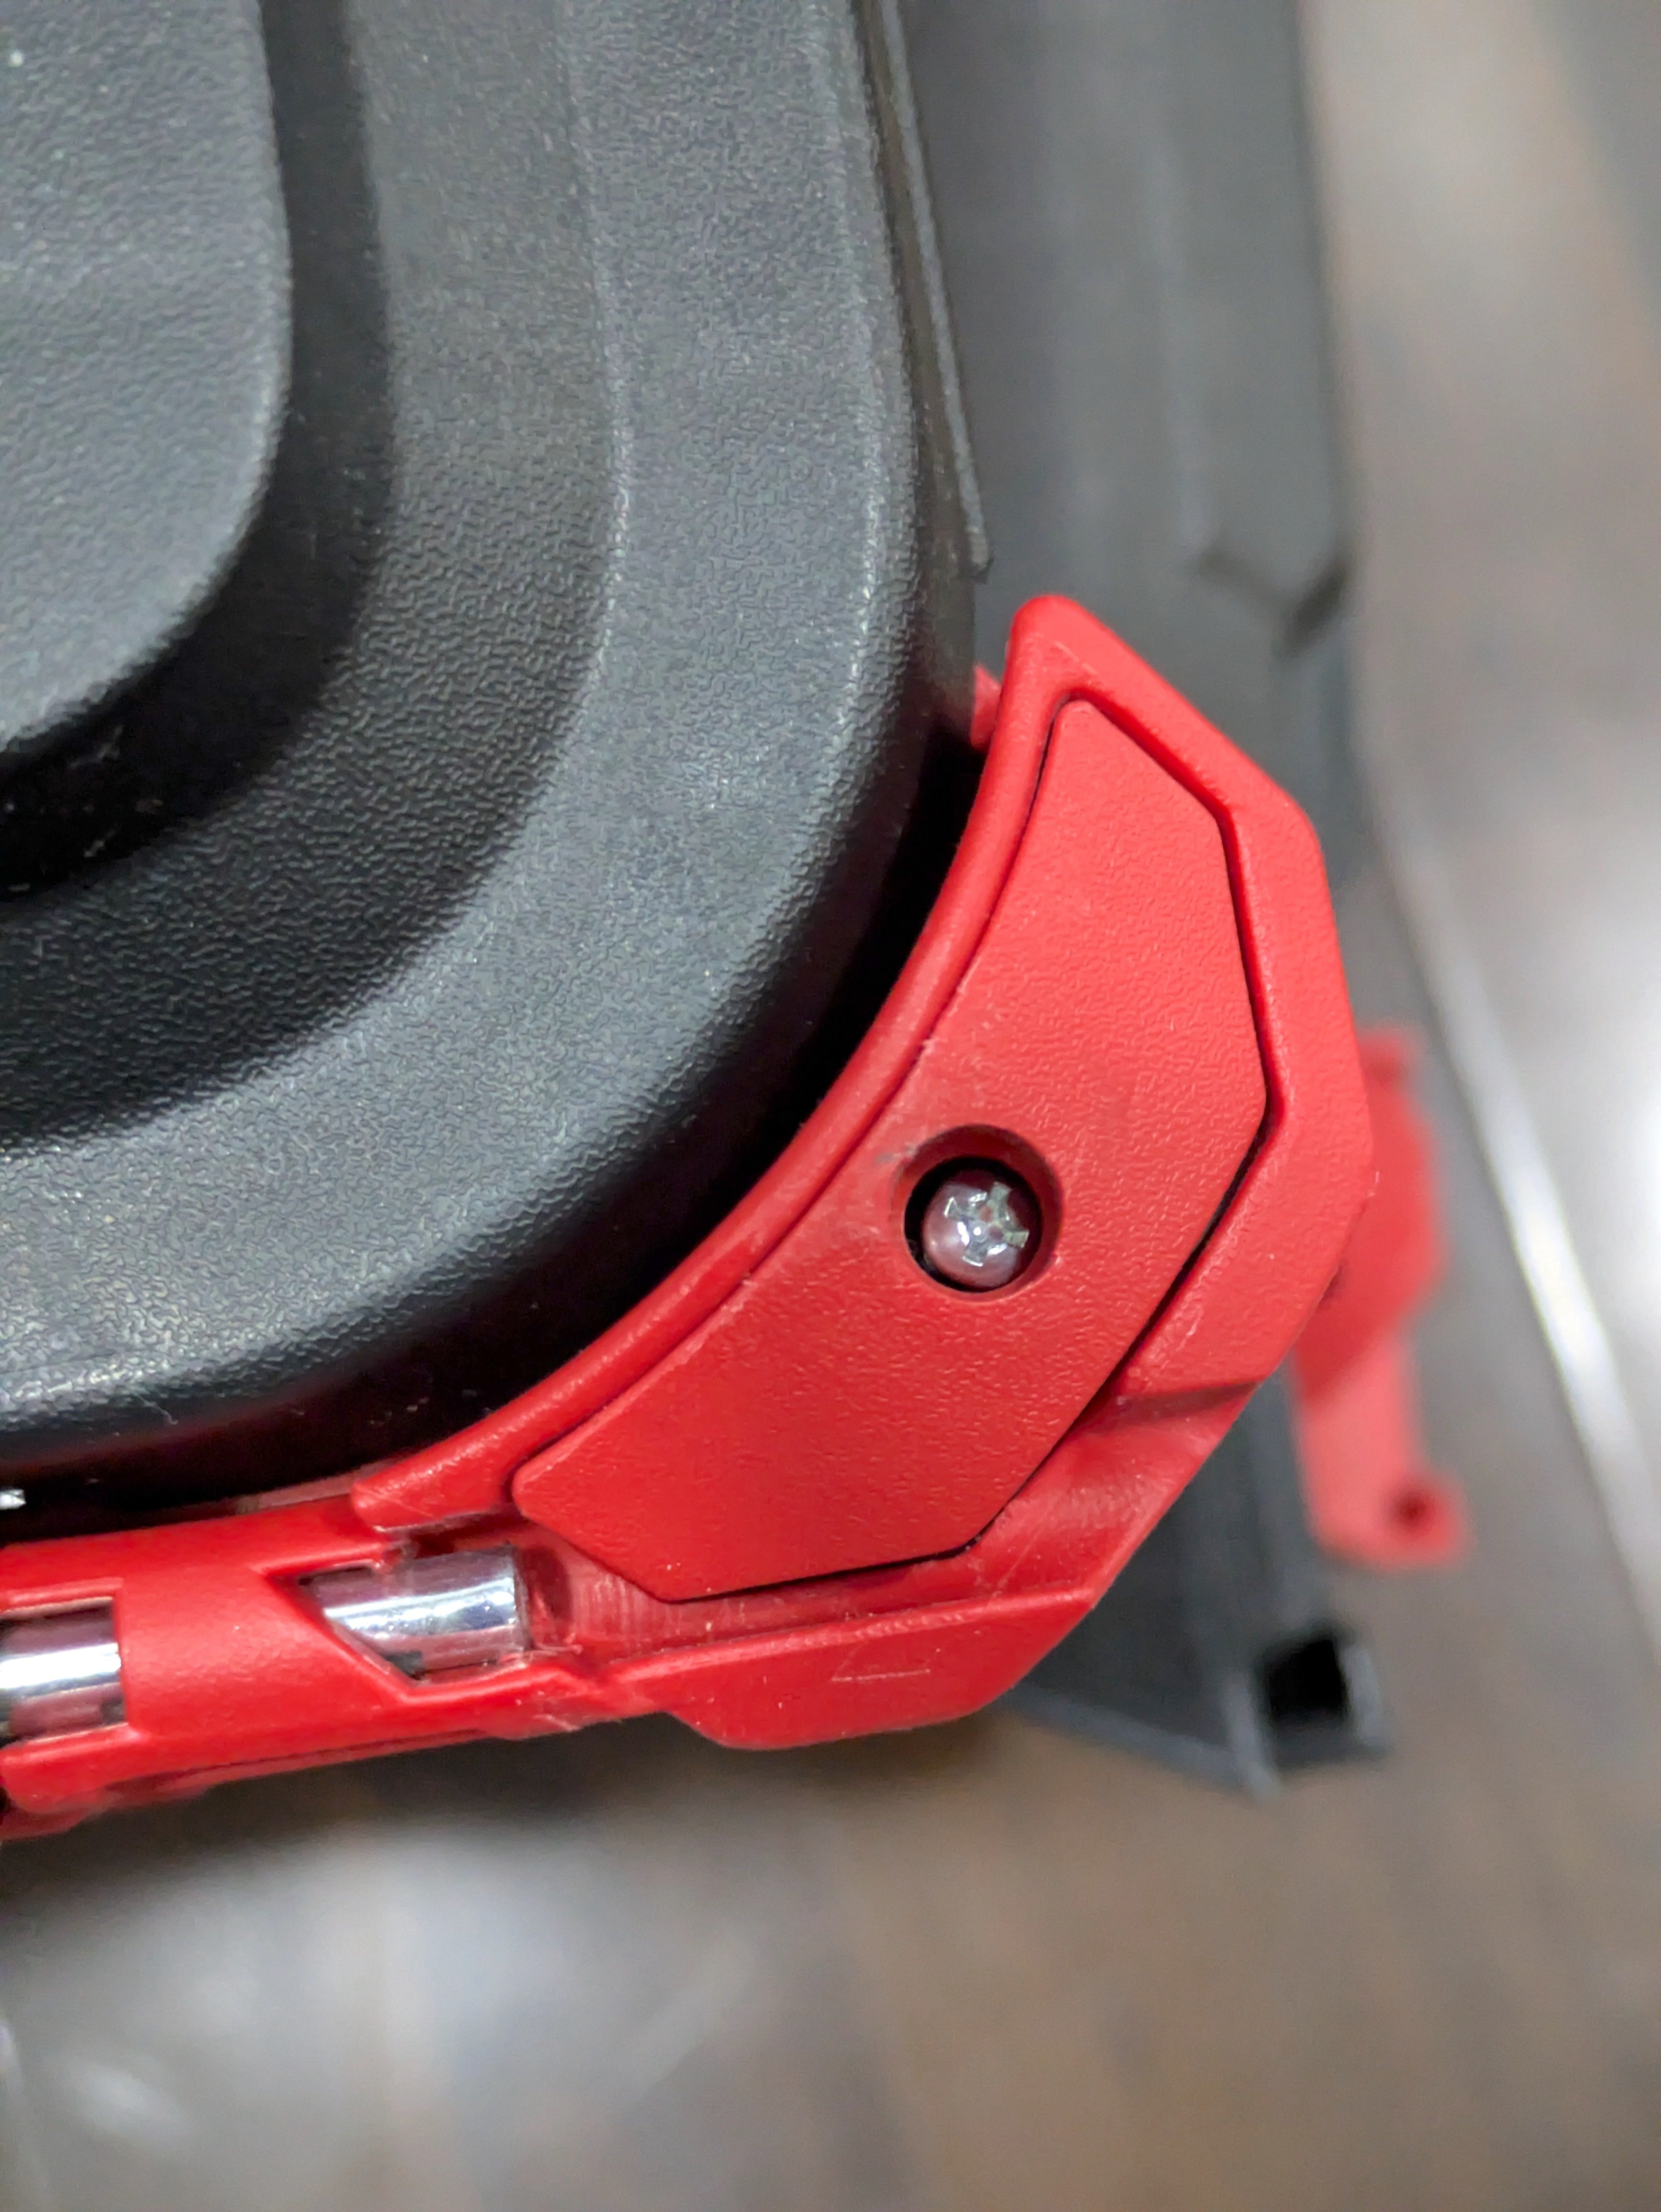
1a) Remove Philip head screws from the top side rail retainers
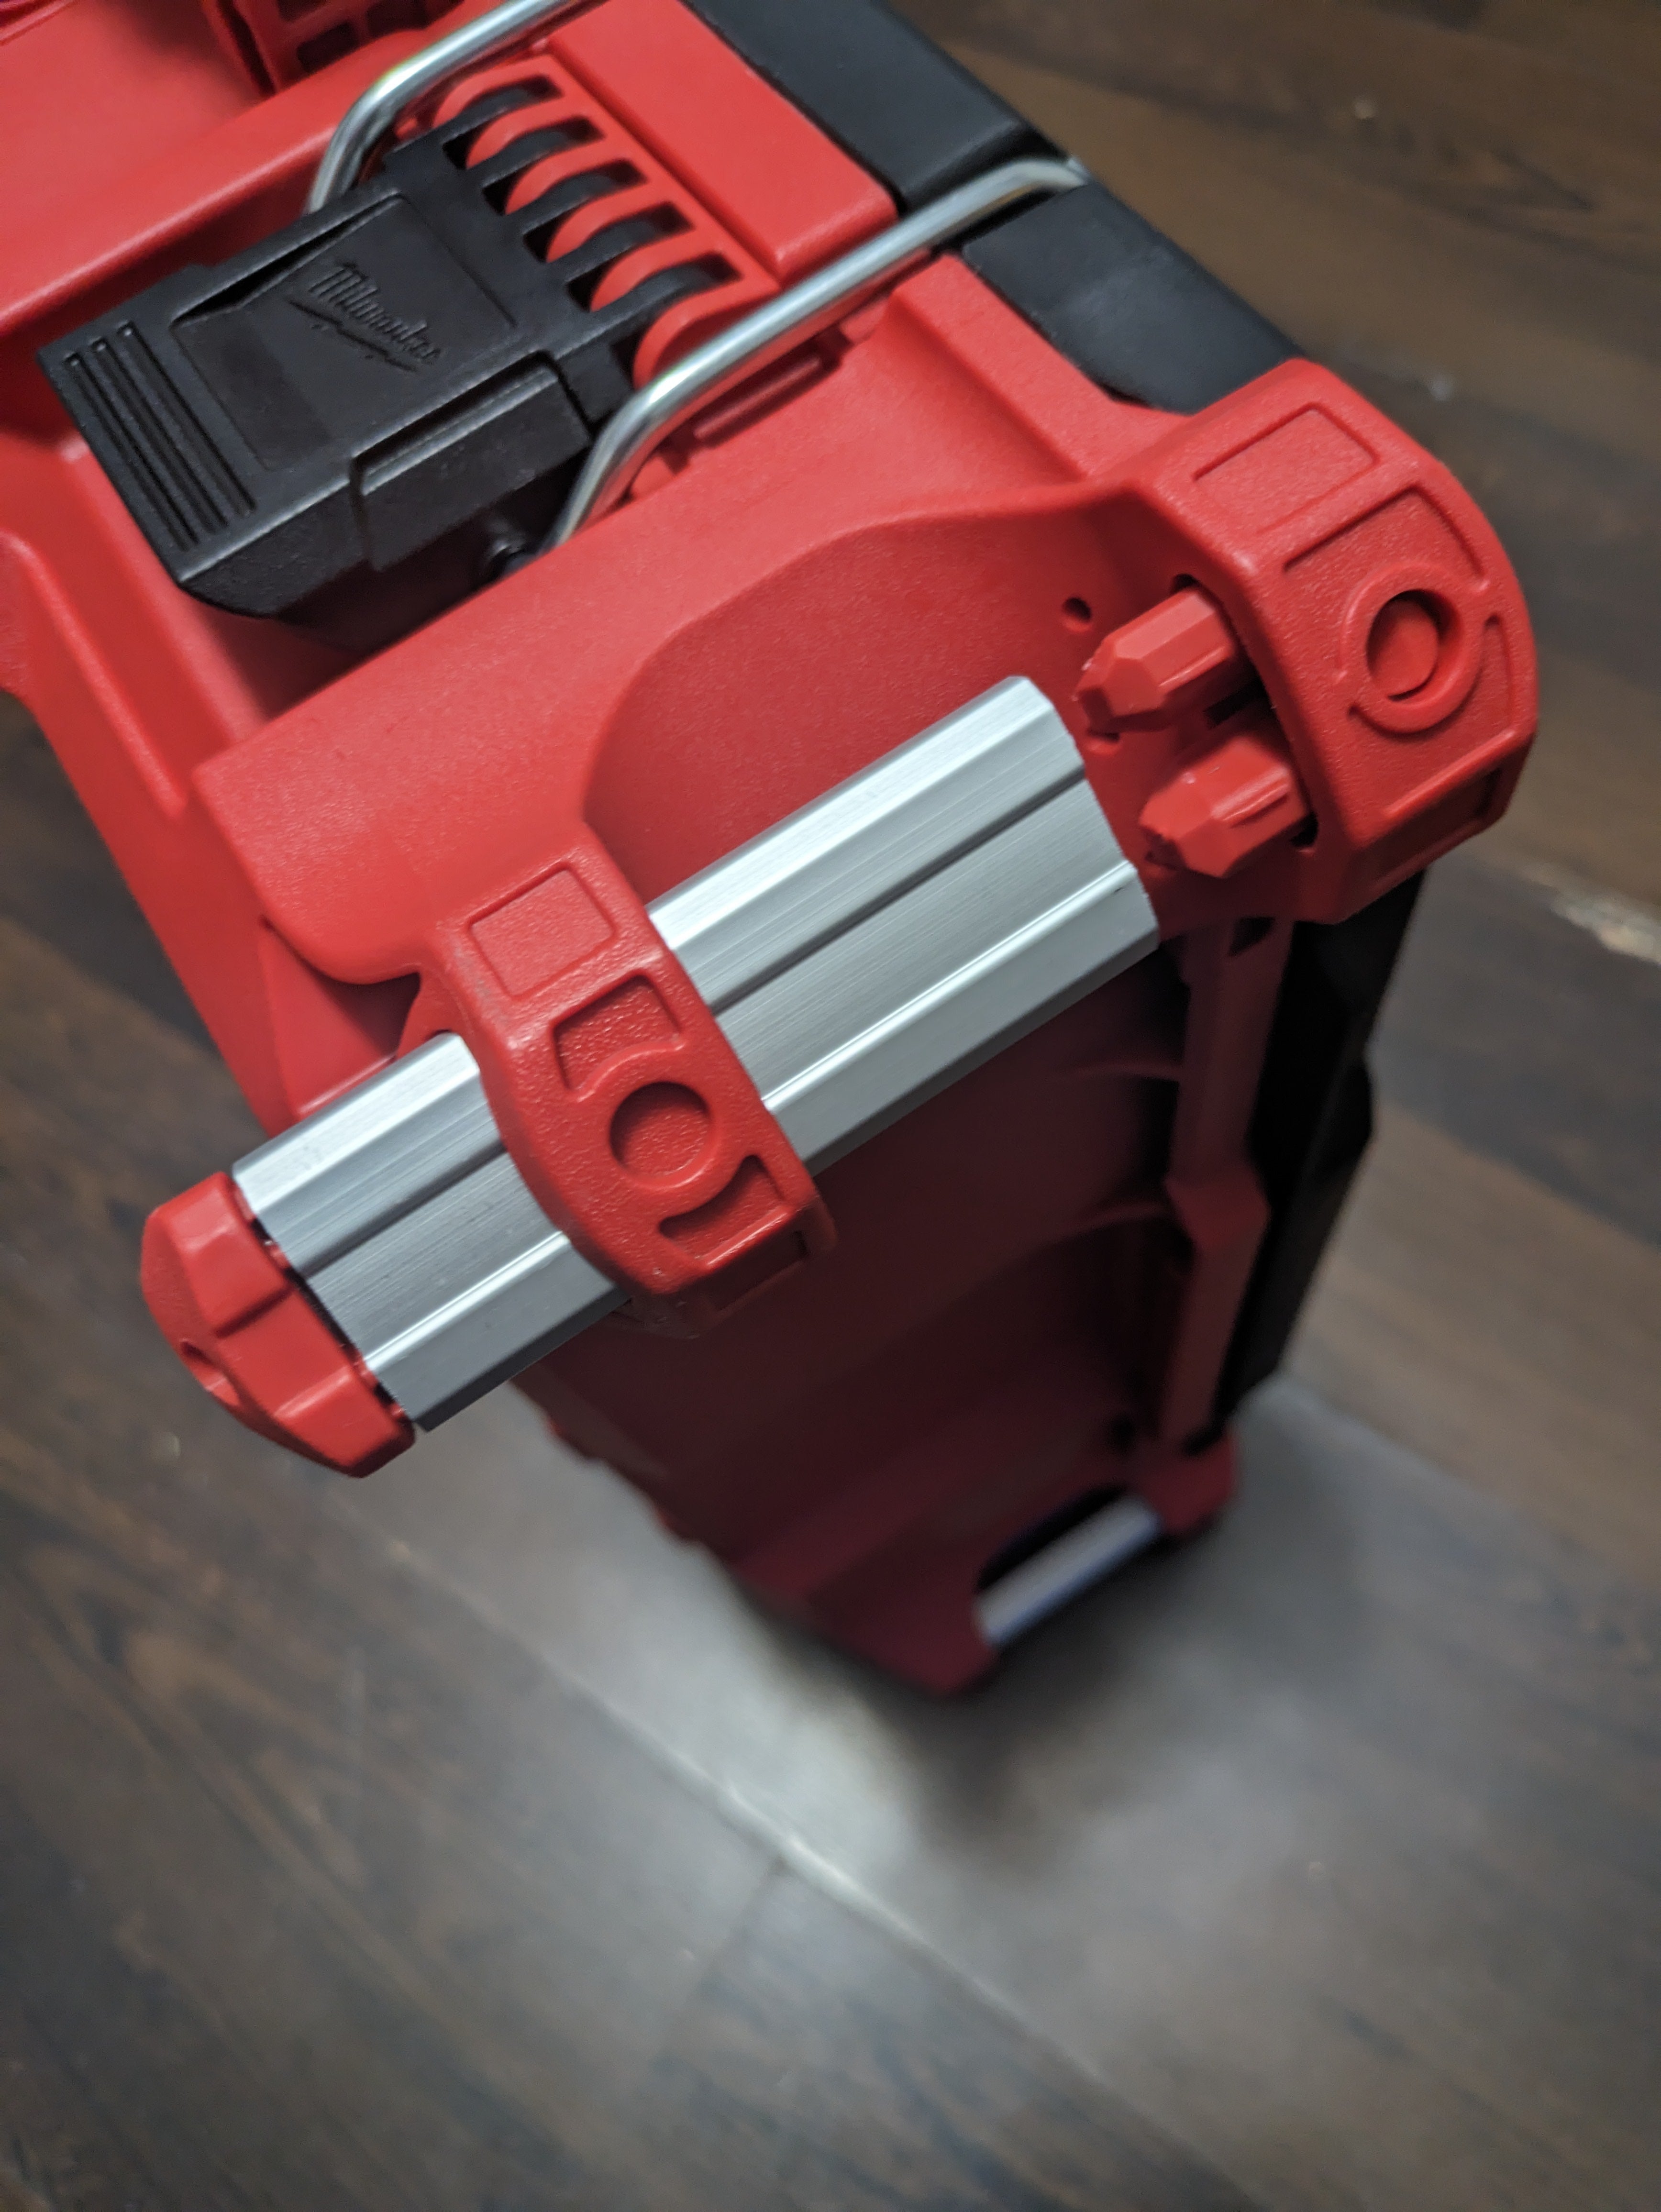
1b) Slide side rail away from top retainer
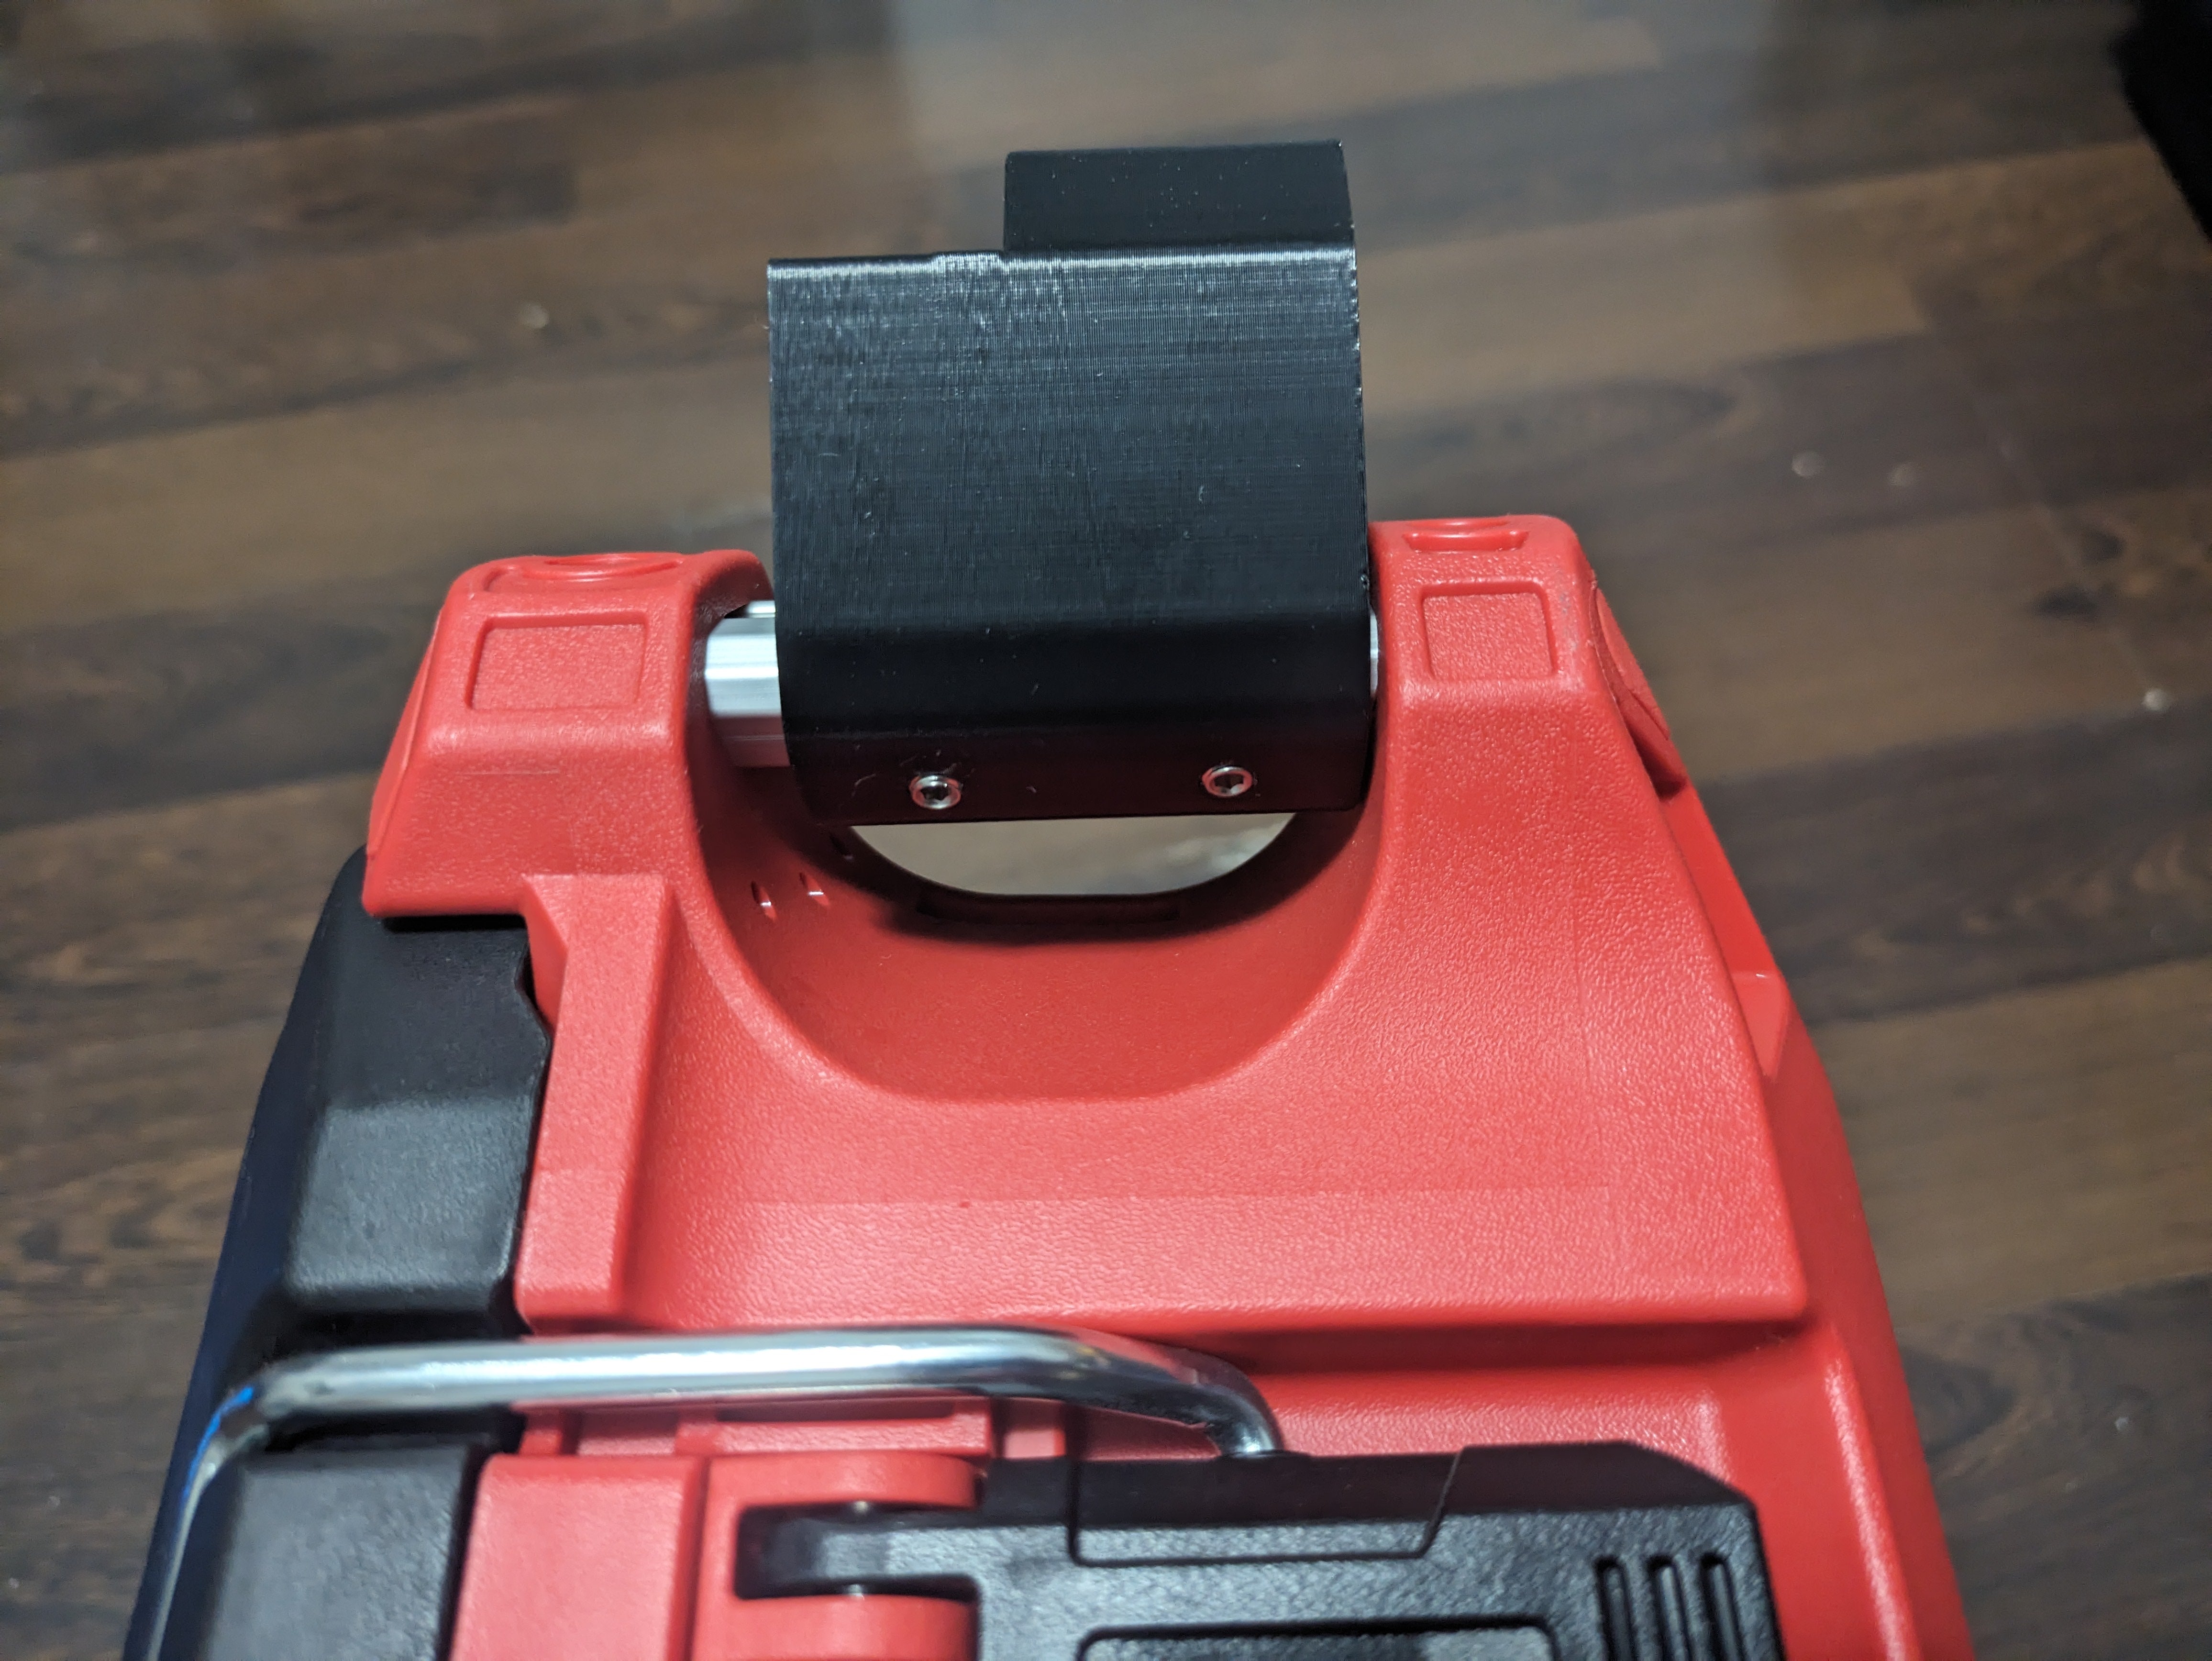
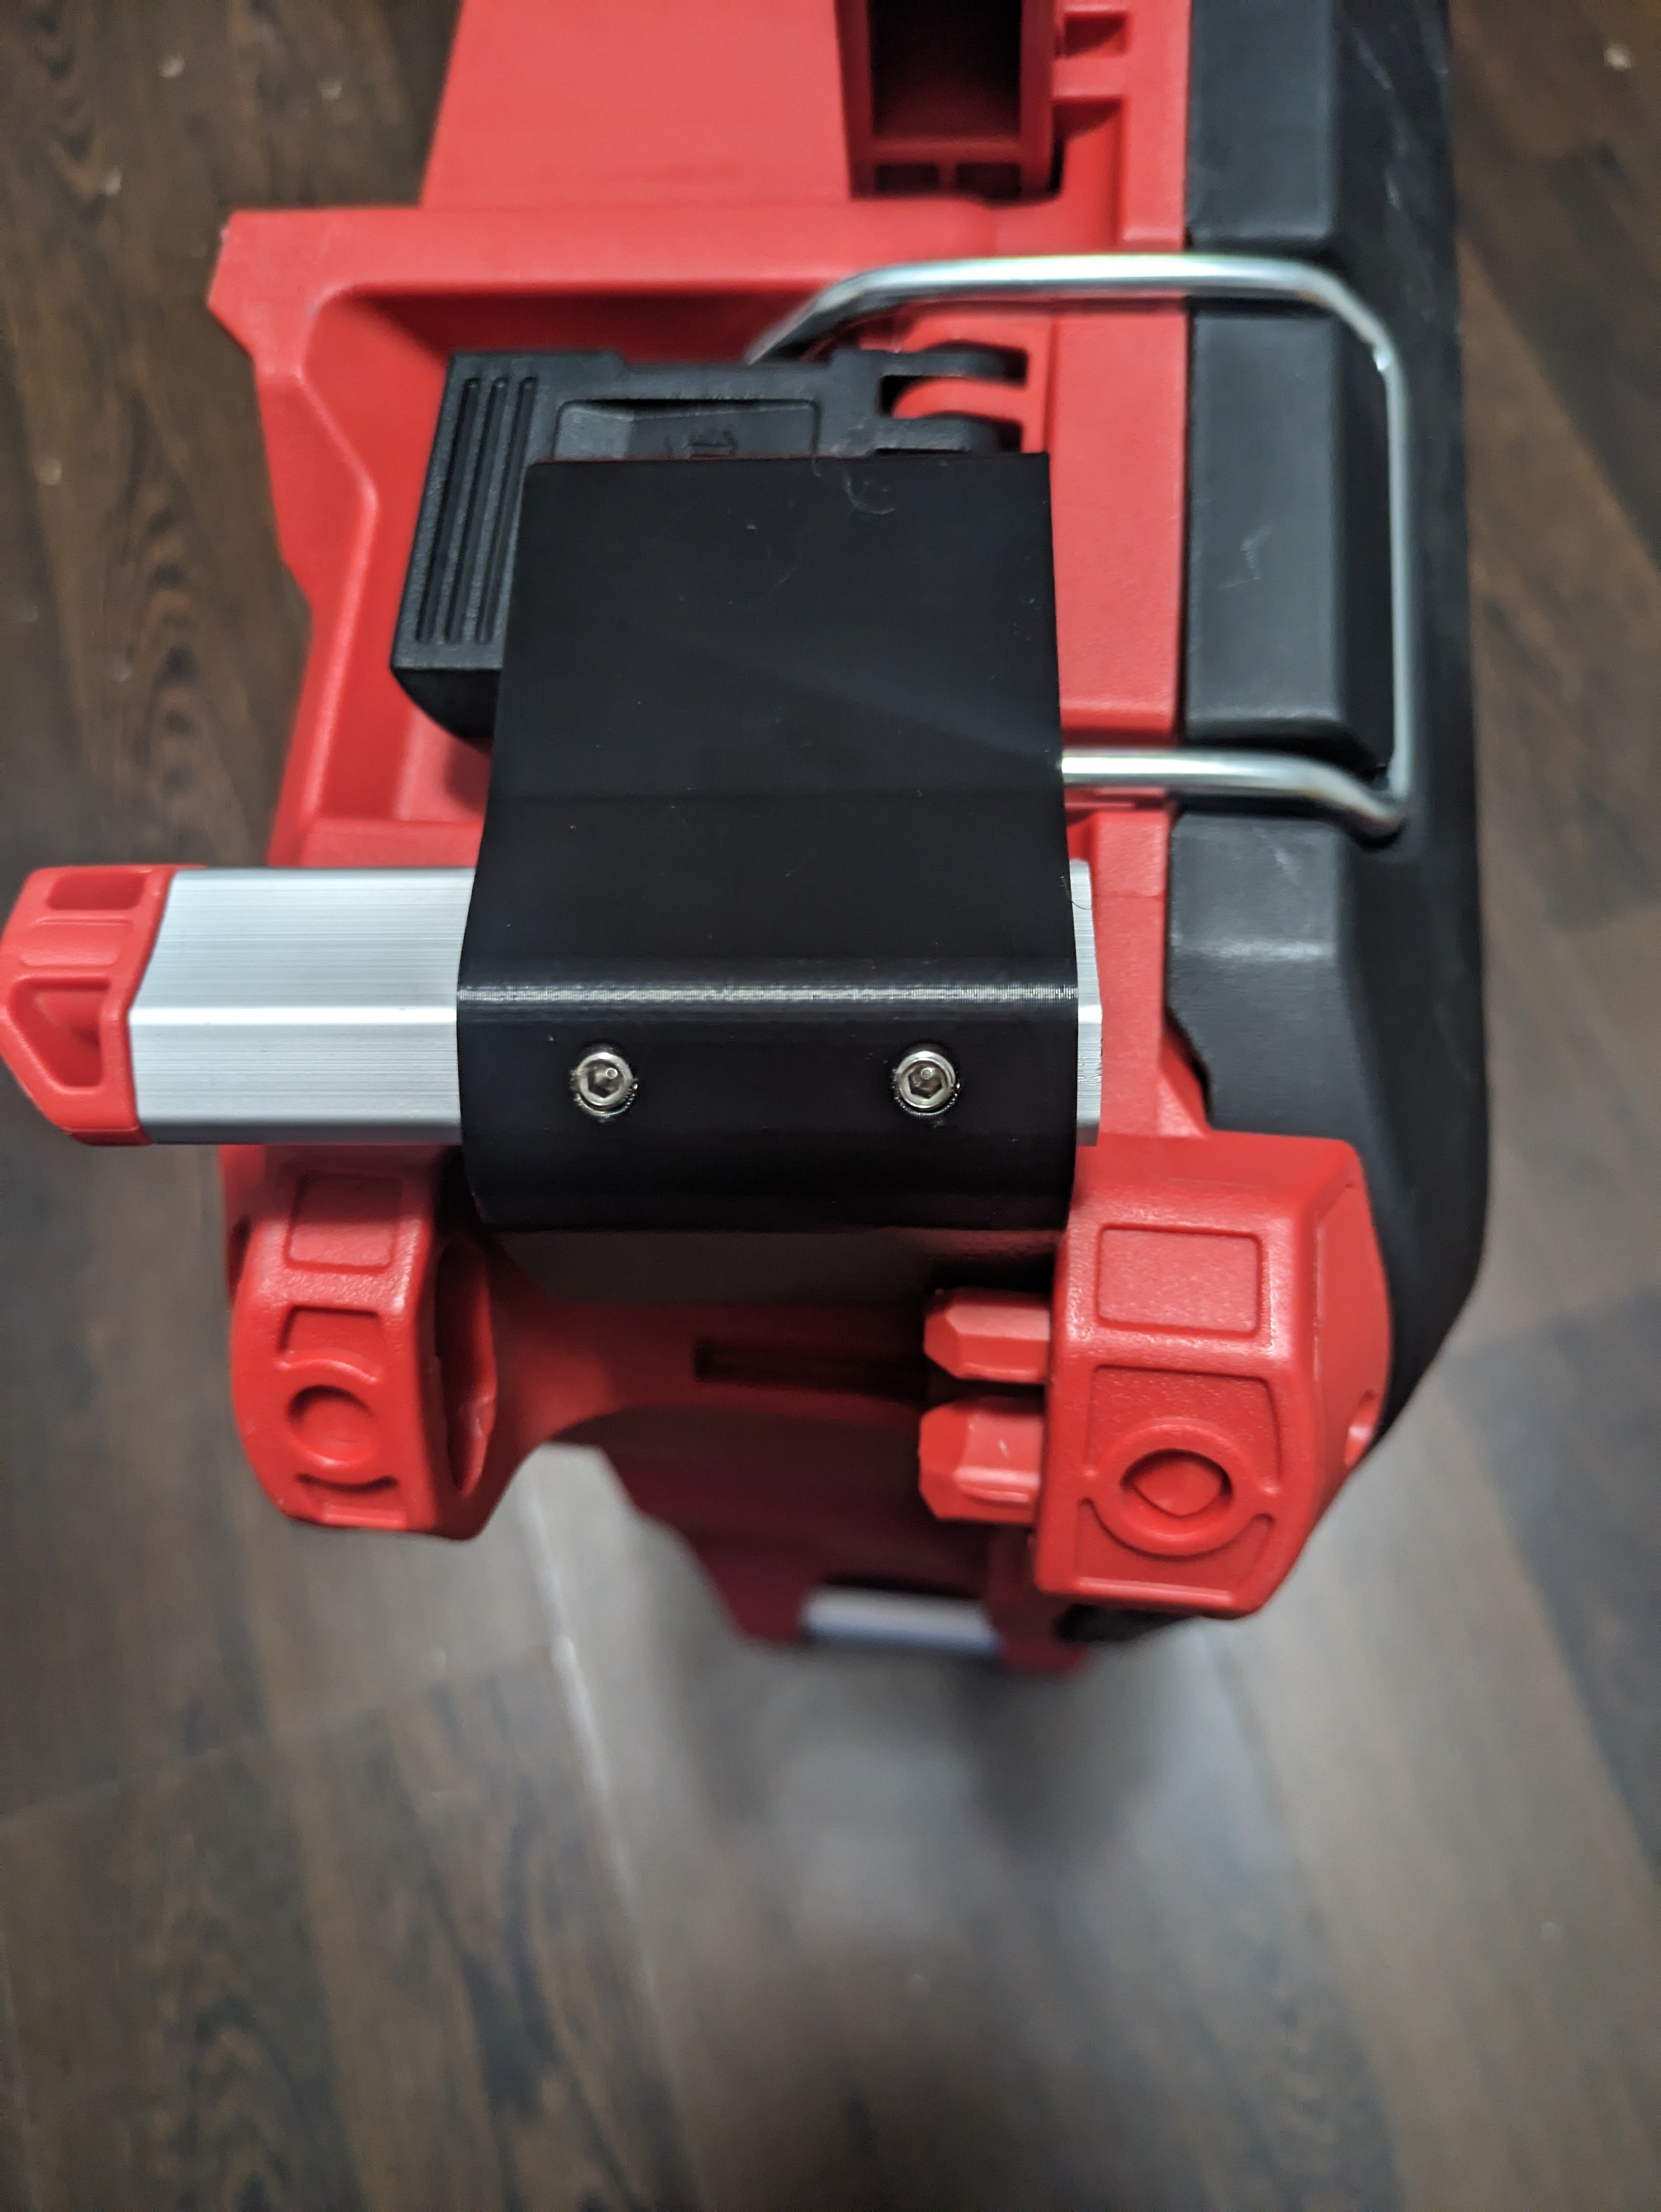
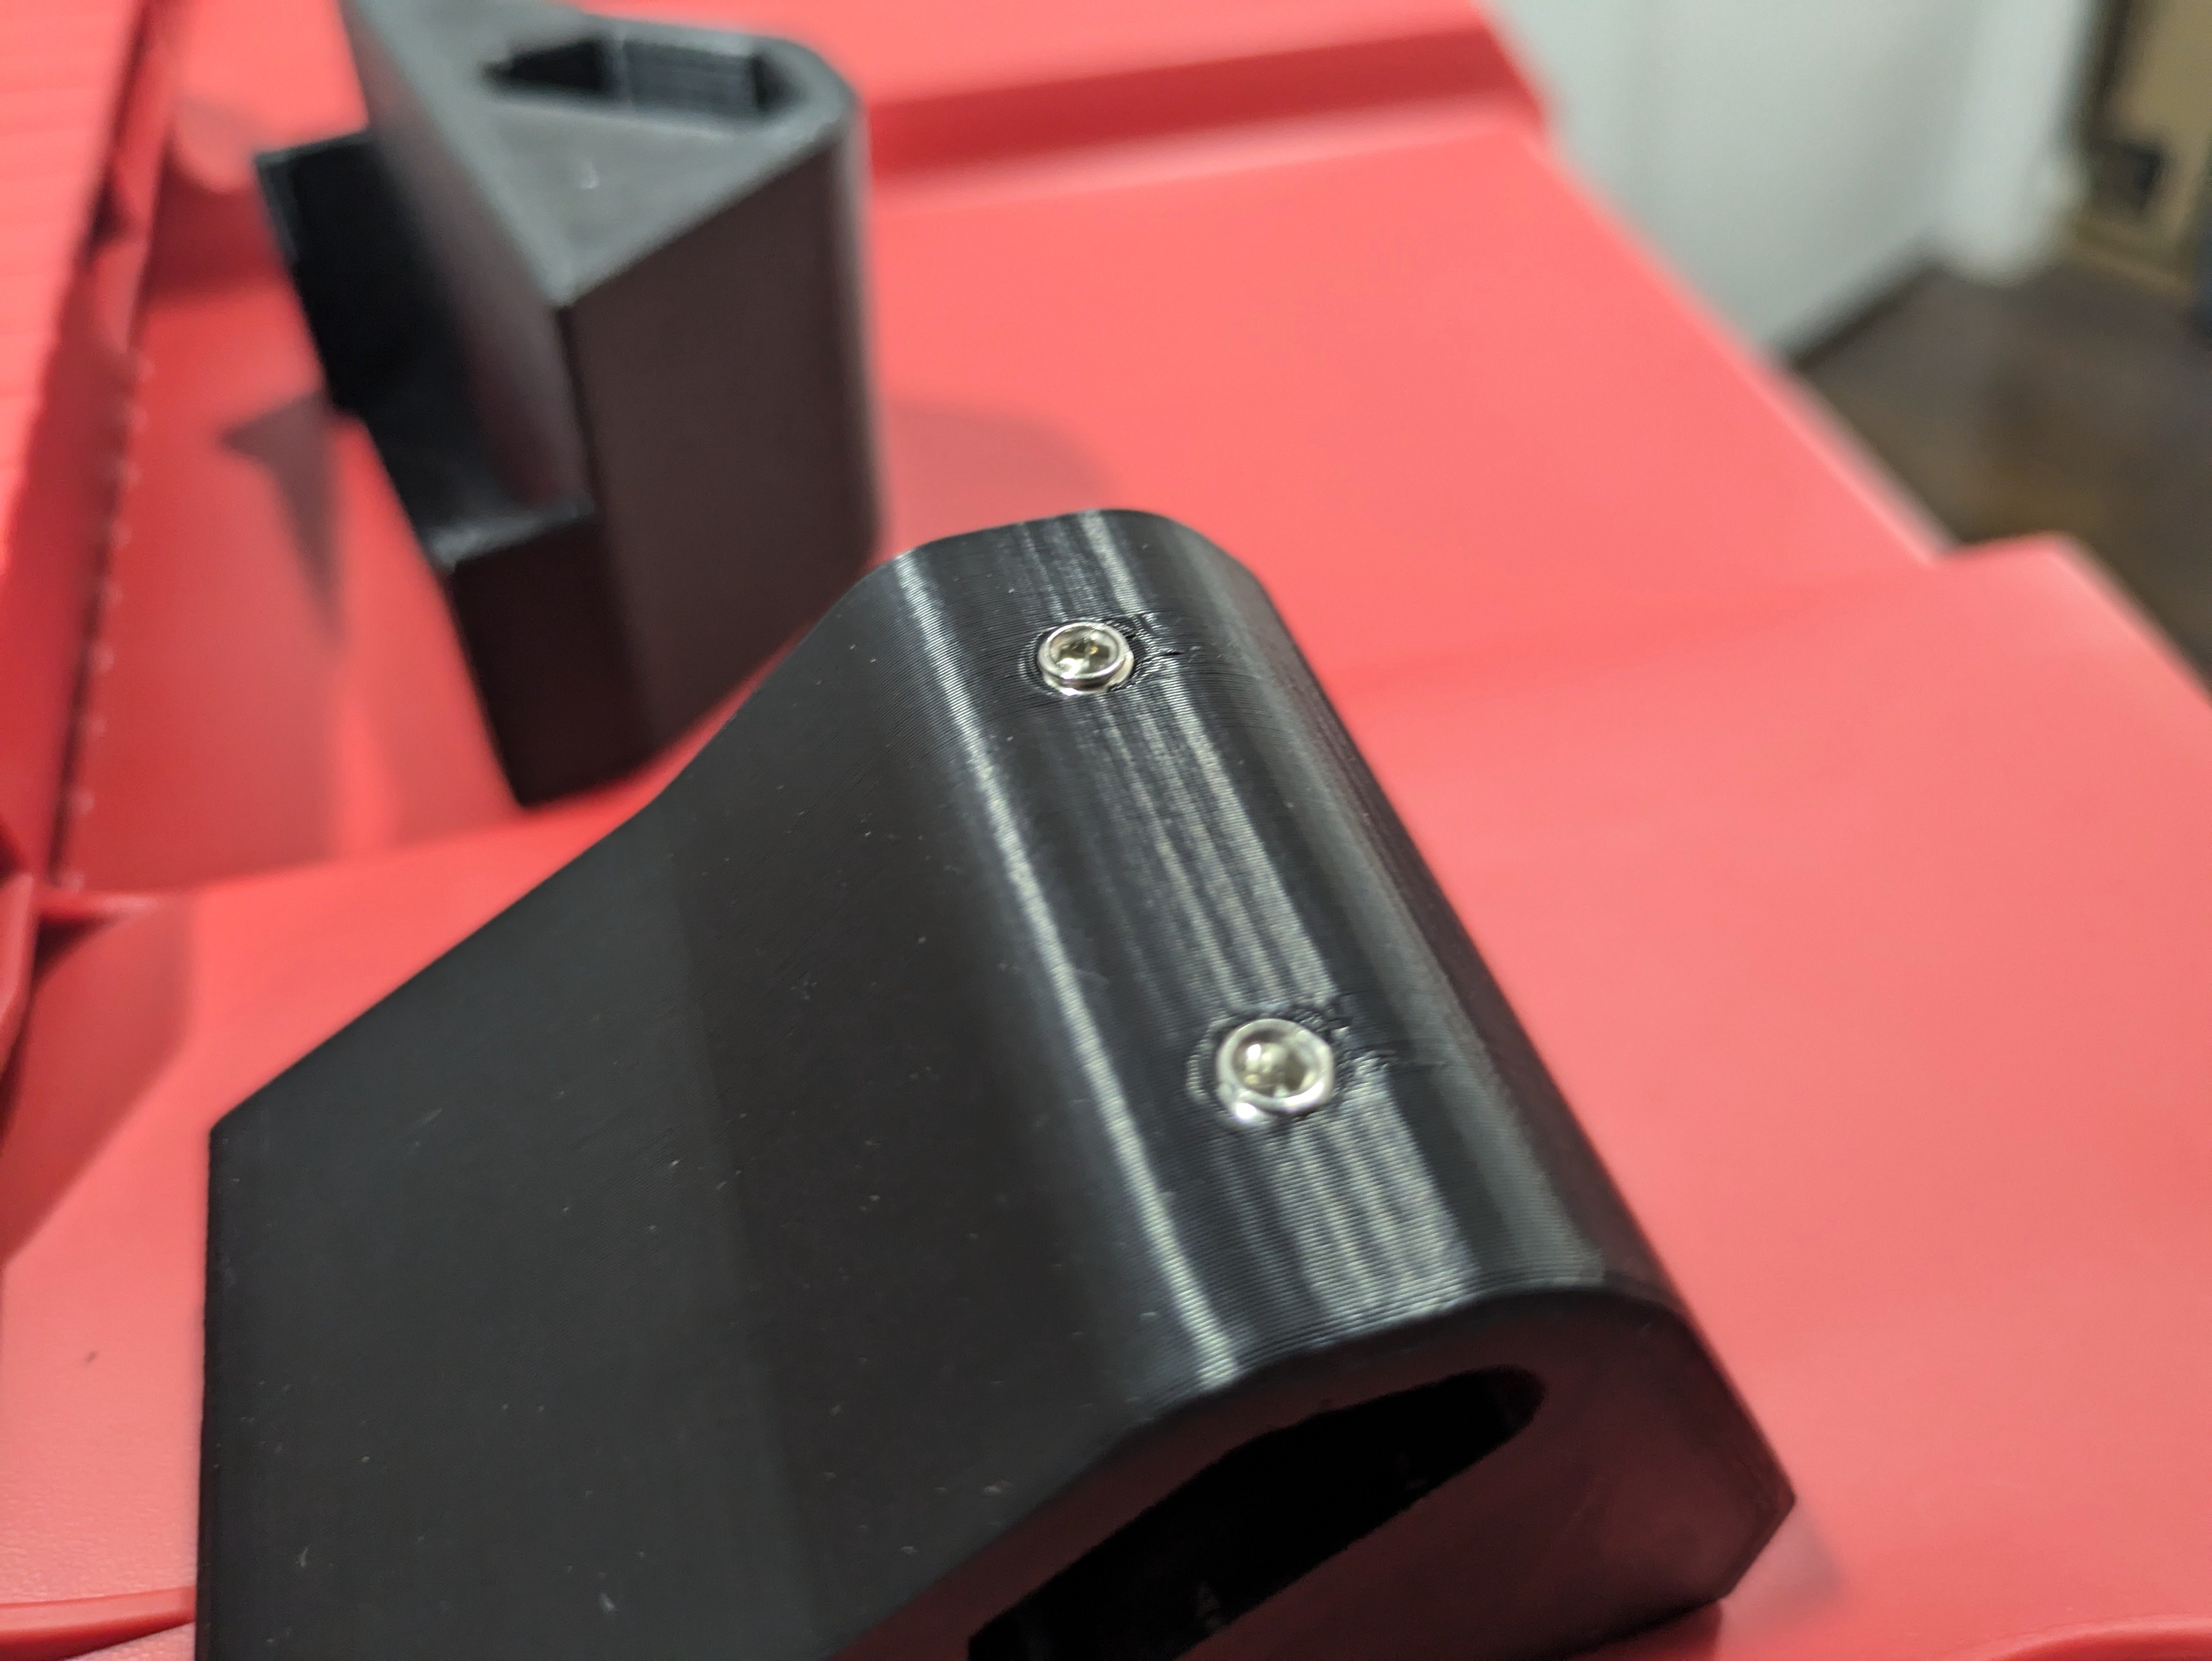
1c) Test fit side mount to rail, adjusting set screws so they just touch and turn back 1/8 turn, rail should slide loosely back and forth
1c) - cont'd set screws should be slightly raised (almost flush) with the backside of the mount
Installing Side Mounts
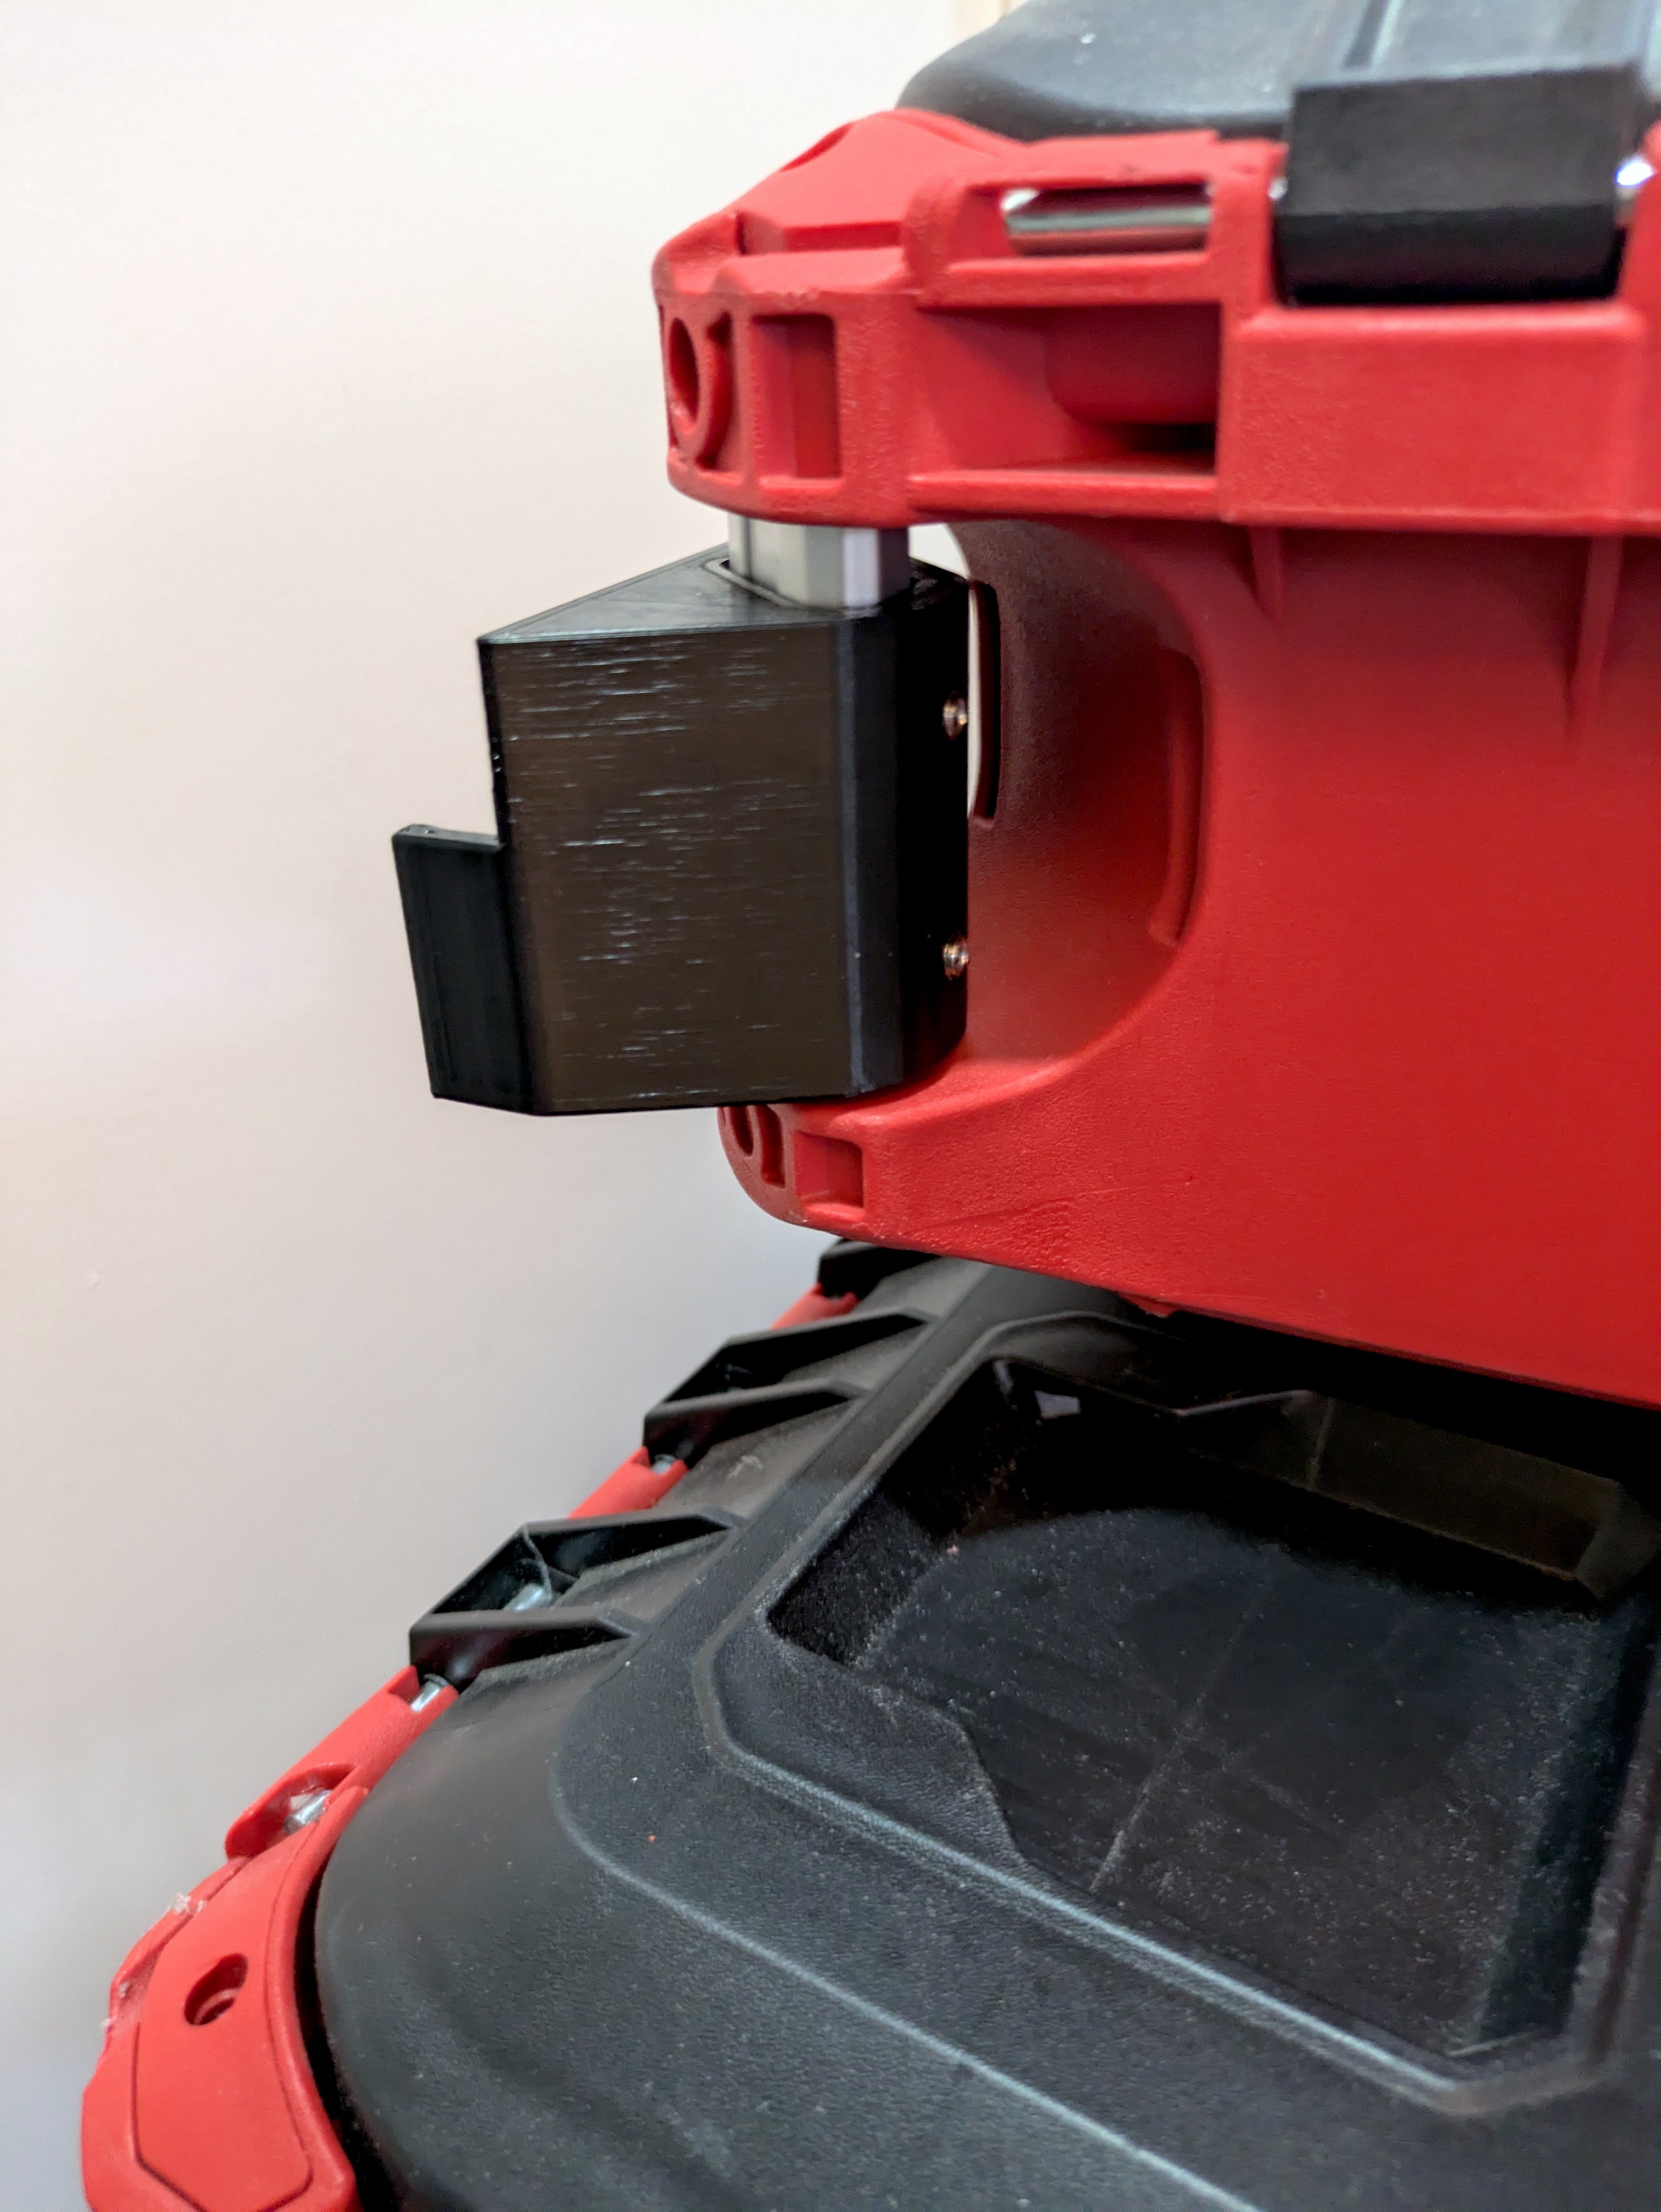
2a) Tilt side mount into position with the two prongs fitting inside
2b) Hold side mount in place as you install the side rail. Adjust side rail to fit back into the original position
2c) Once side rail is fitted in place to the top retainer, tighten screw into side rail
** When installing Dual Side Mount Bracket both sides will have to be sequenced in unison
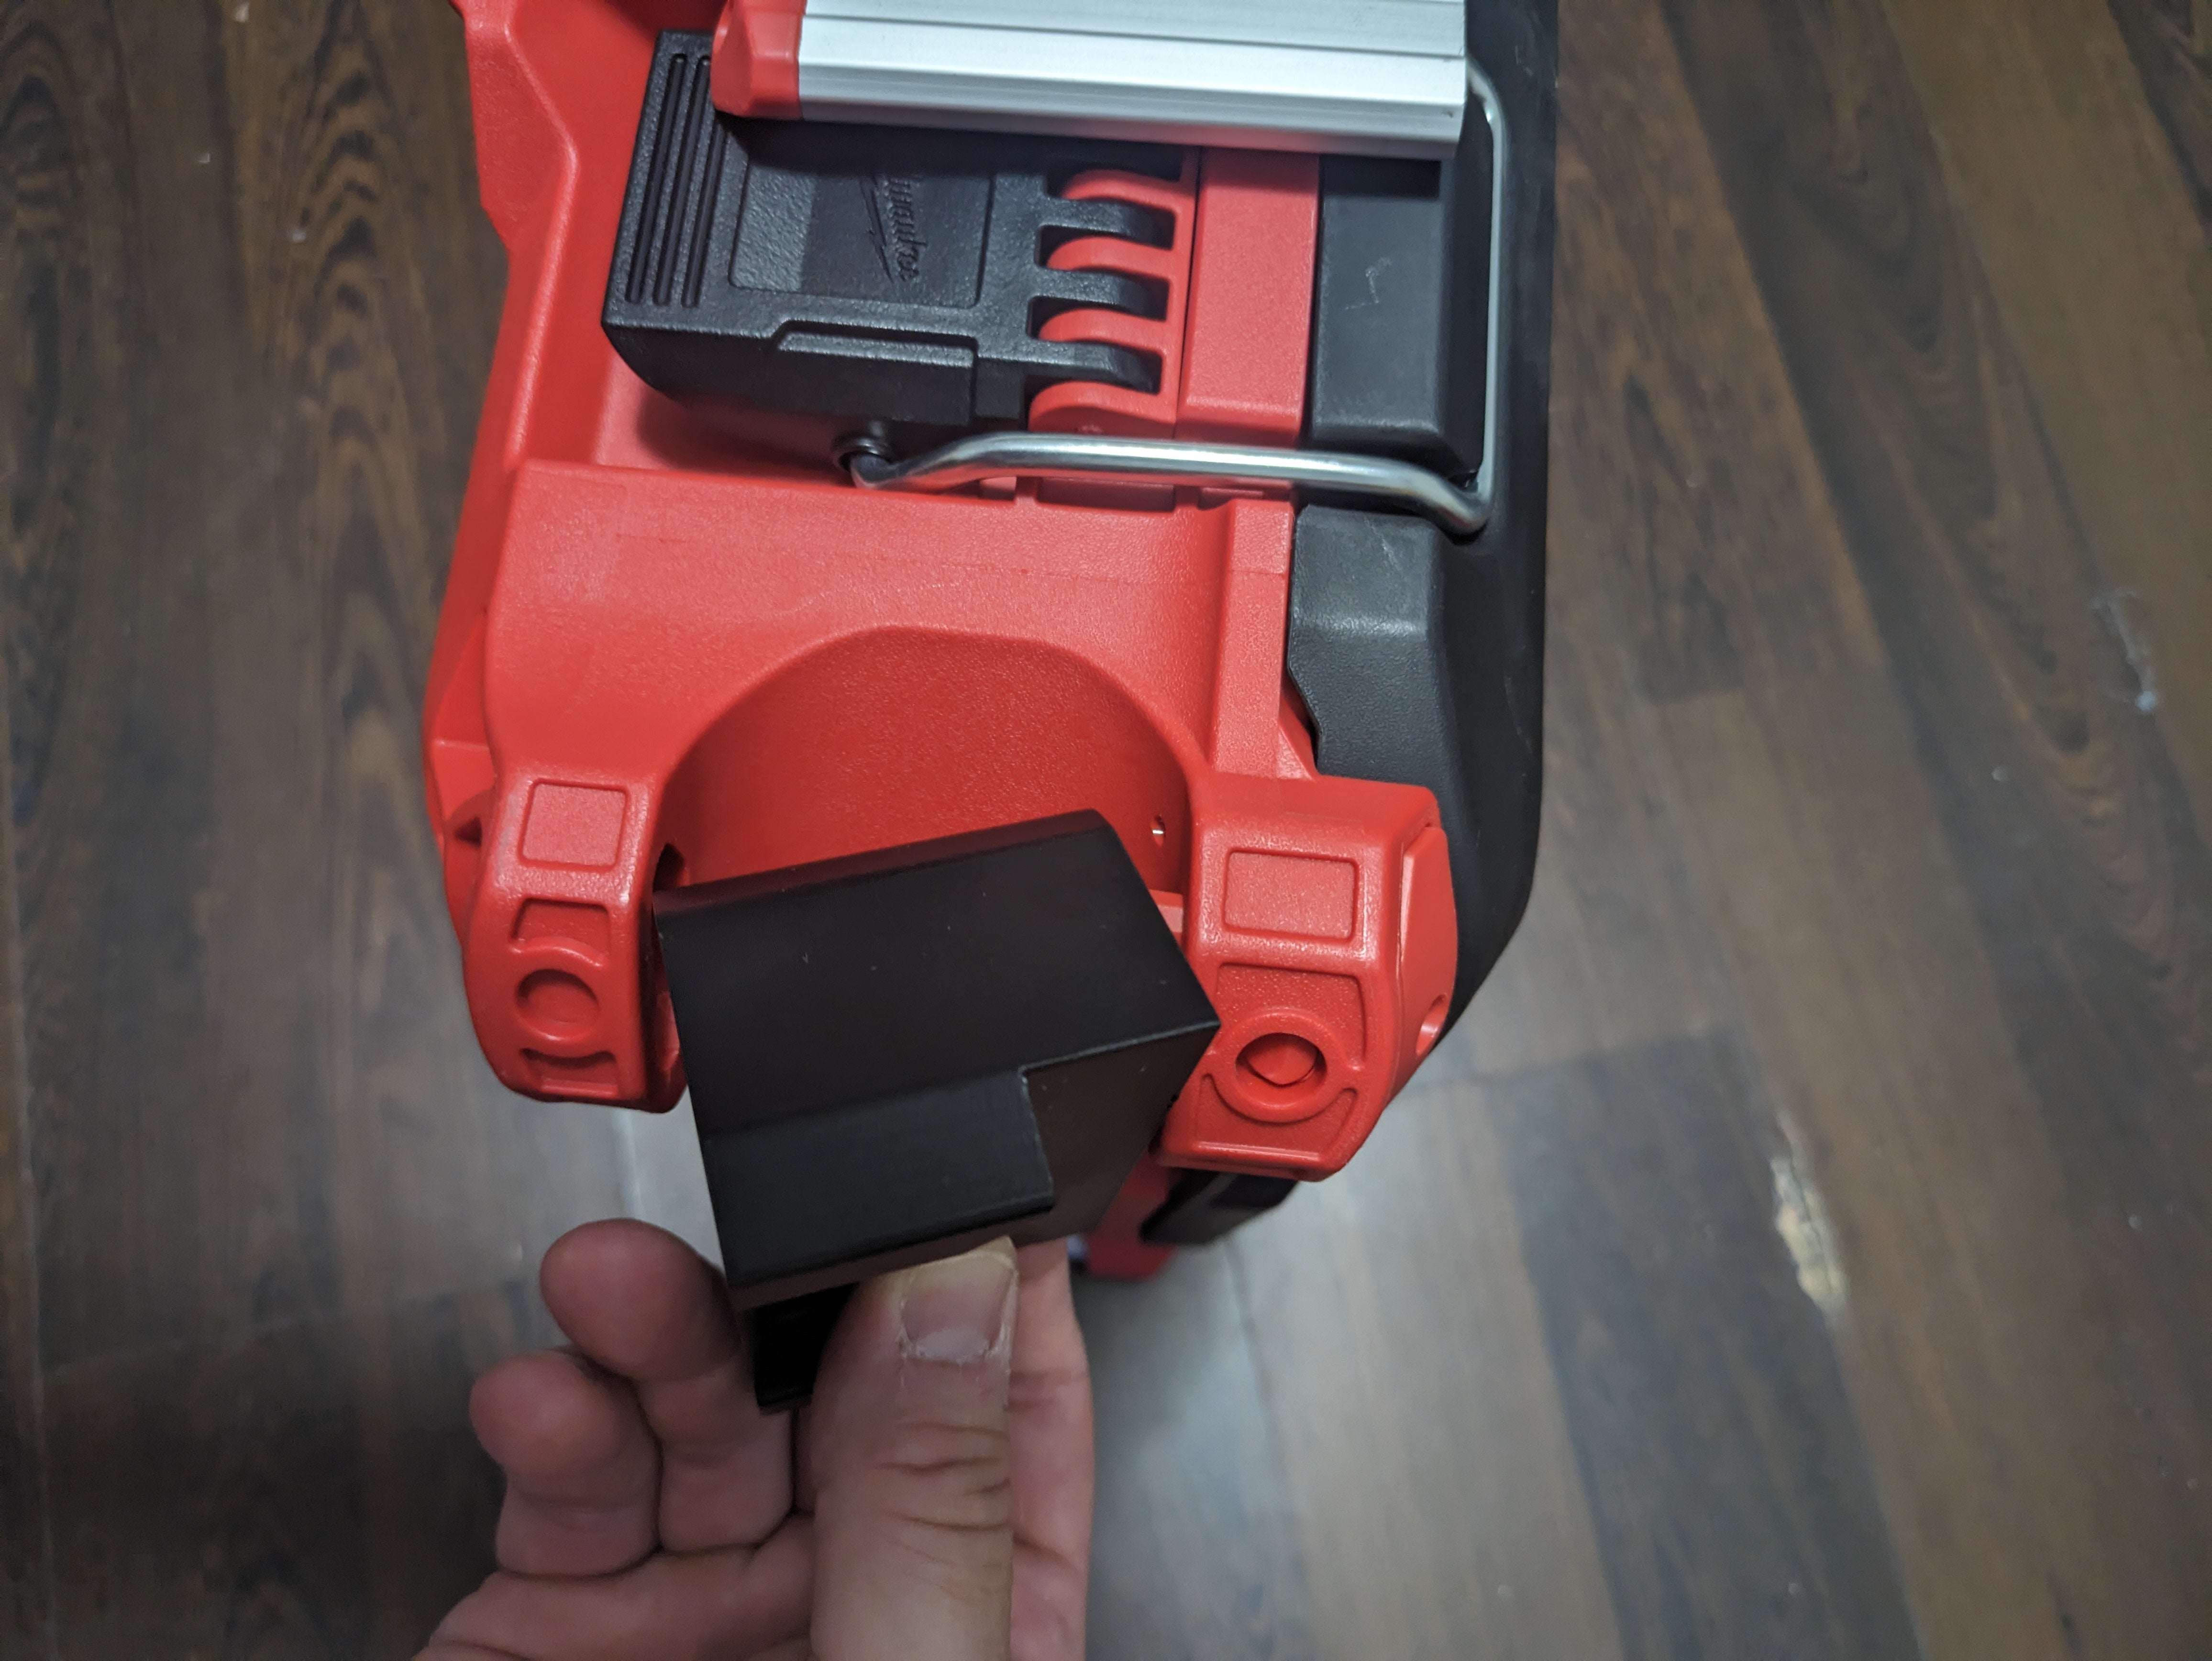
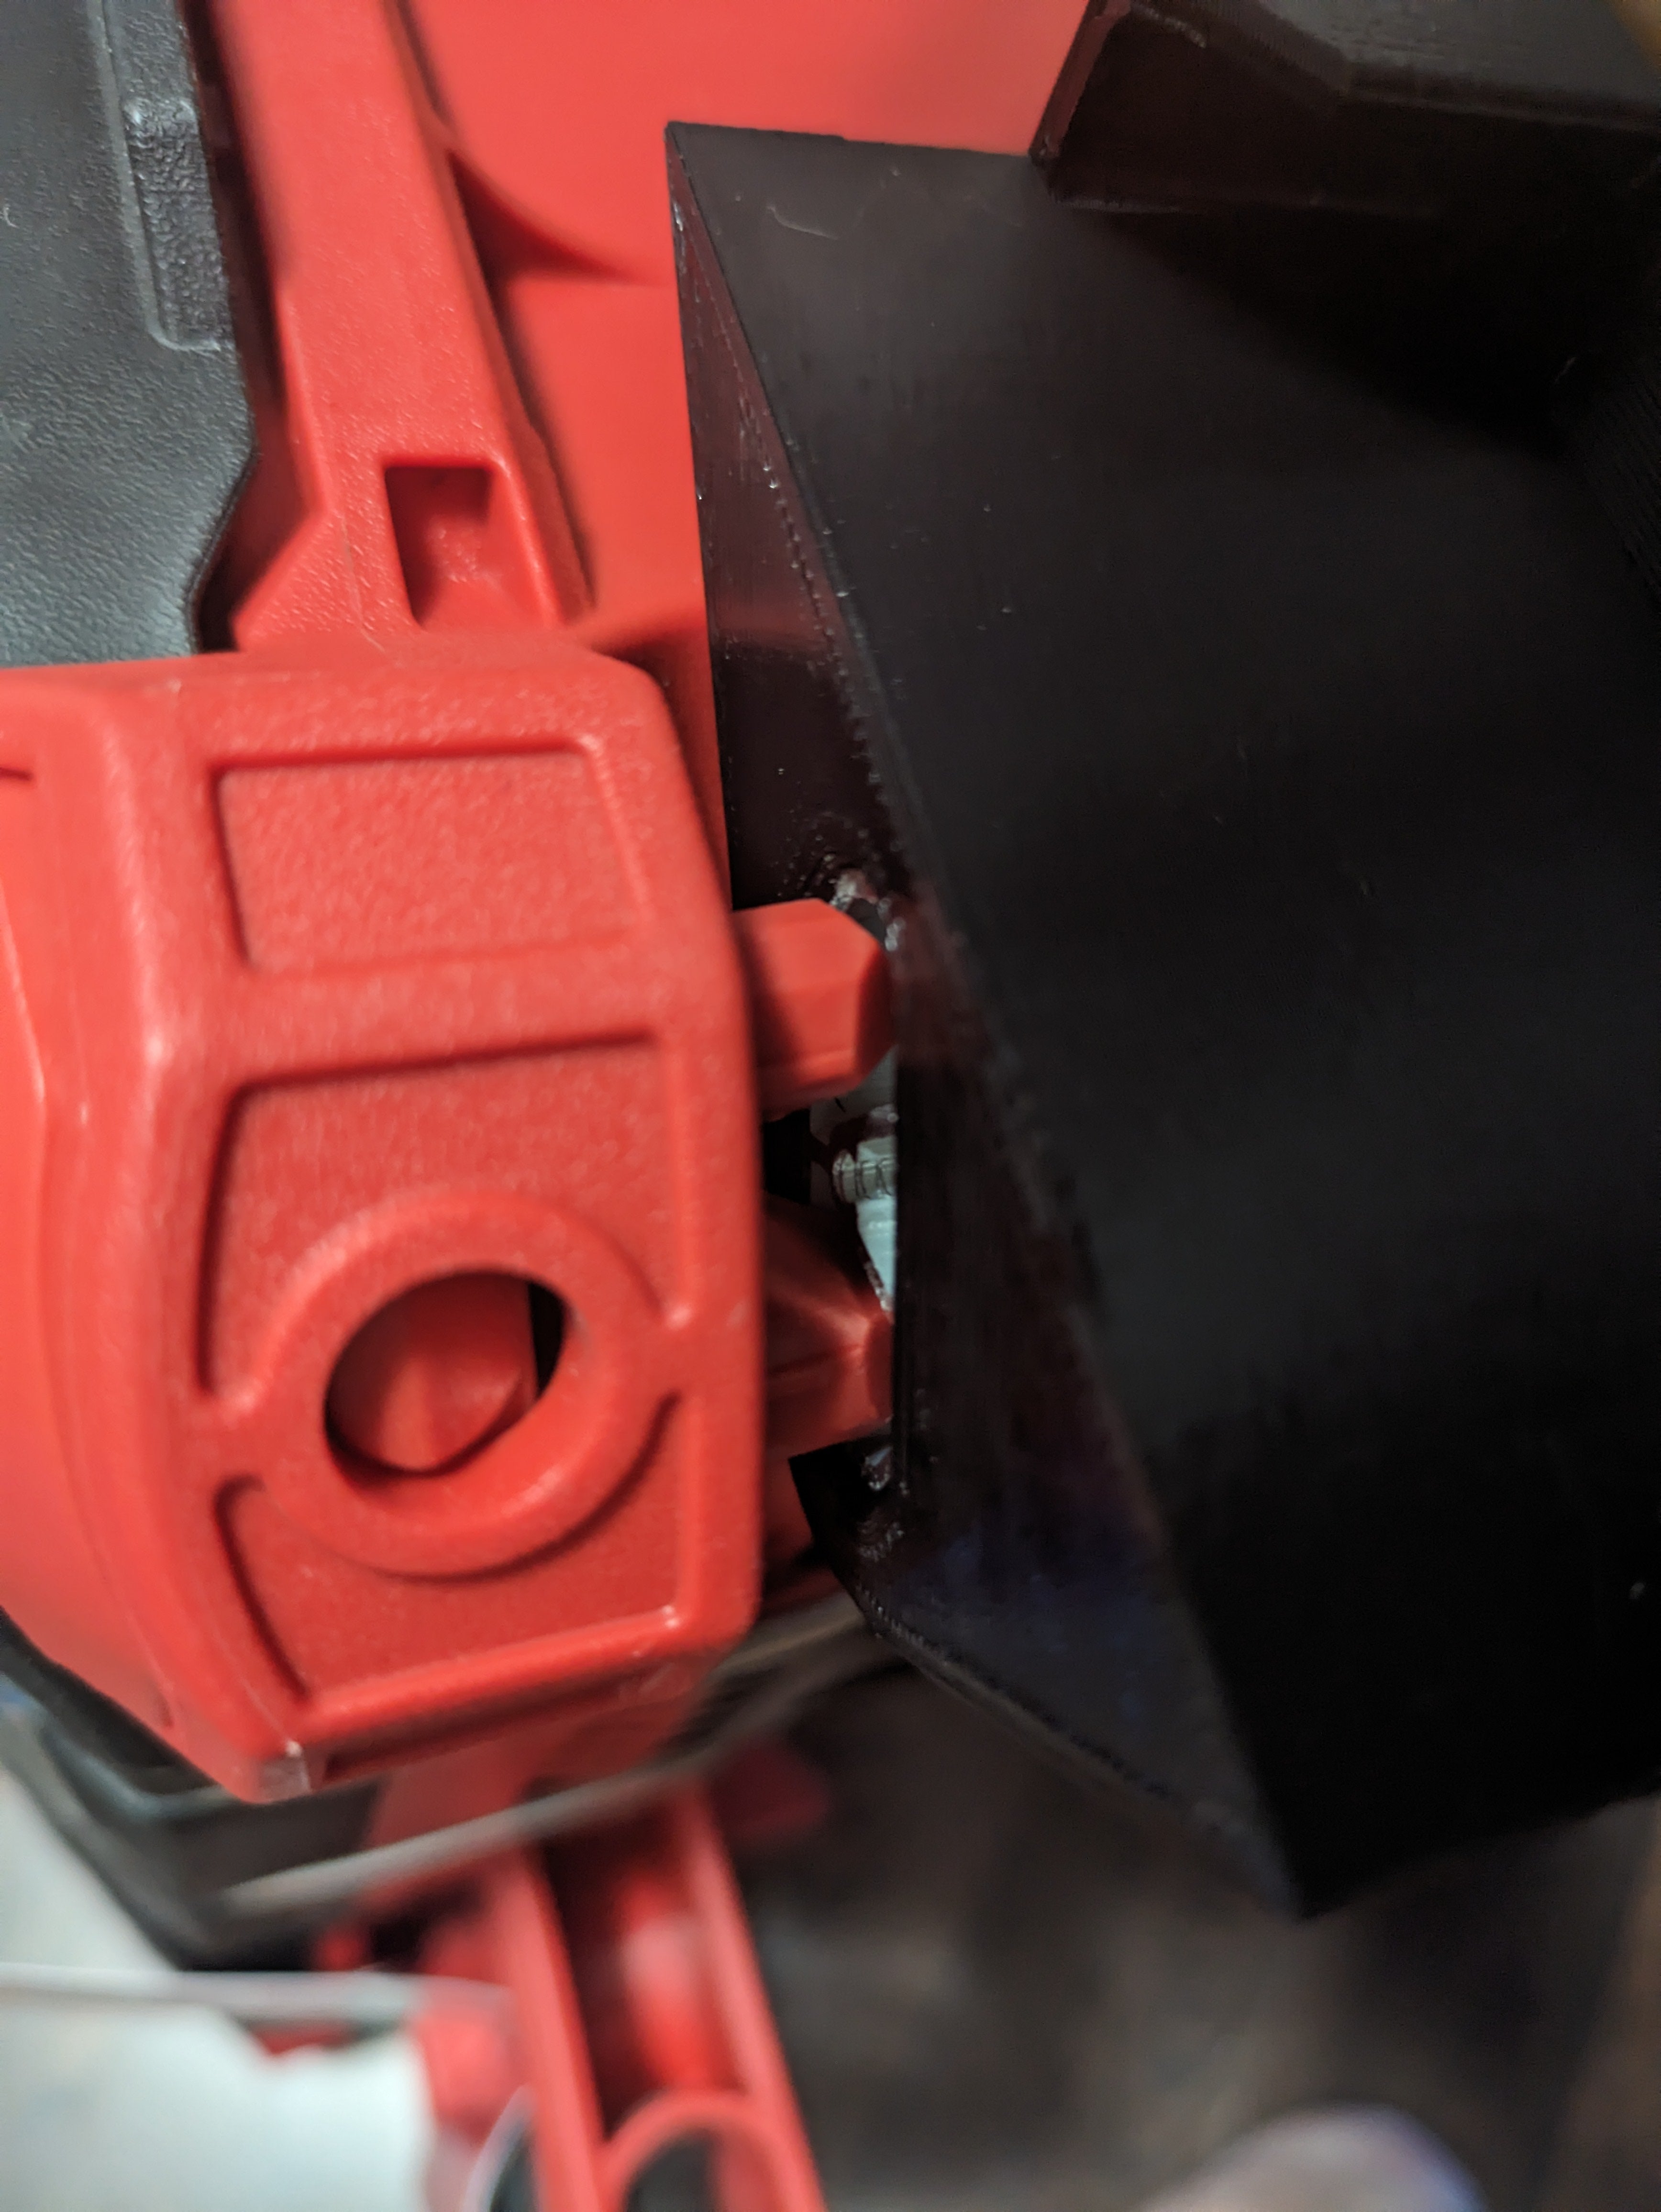
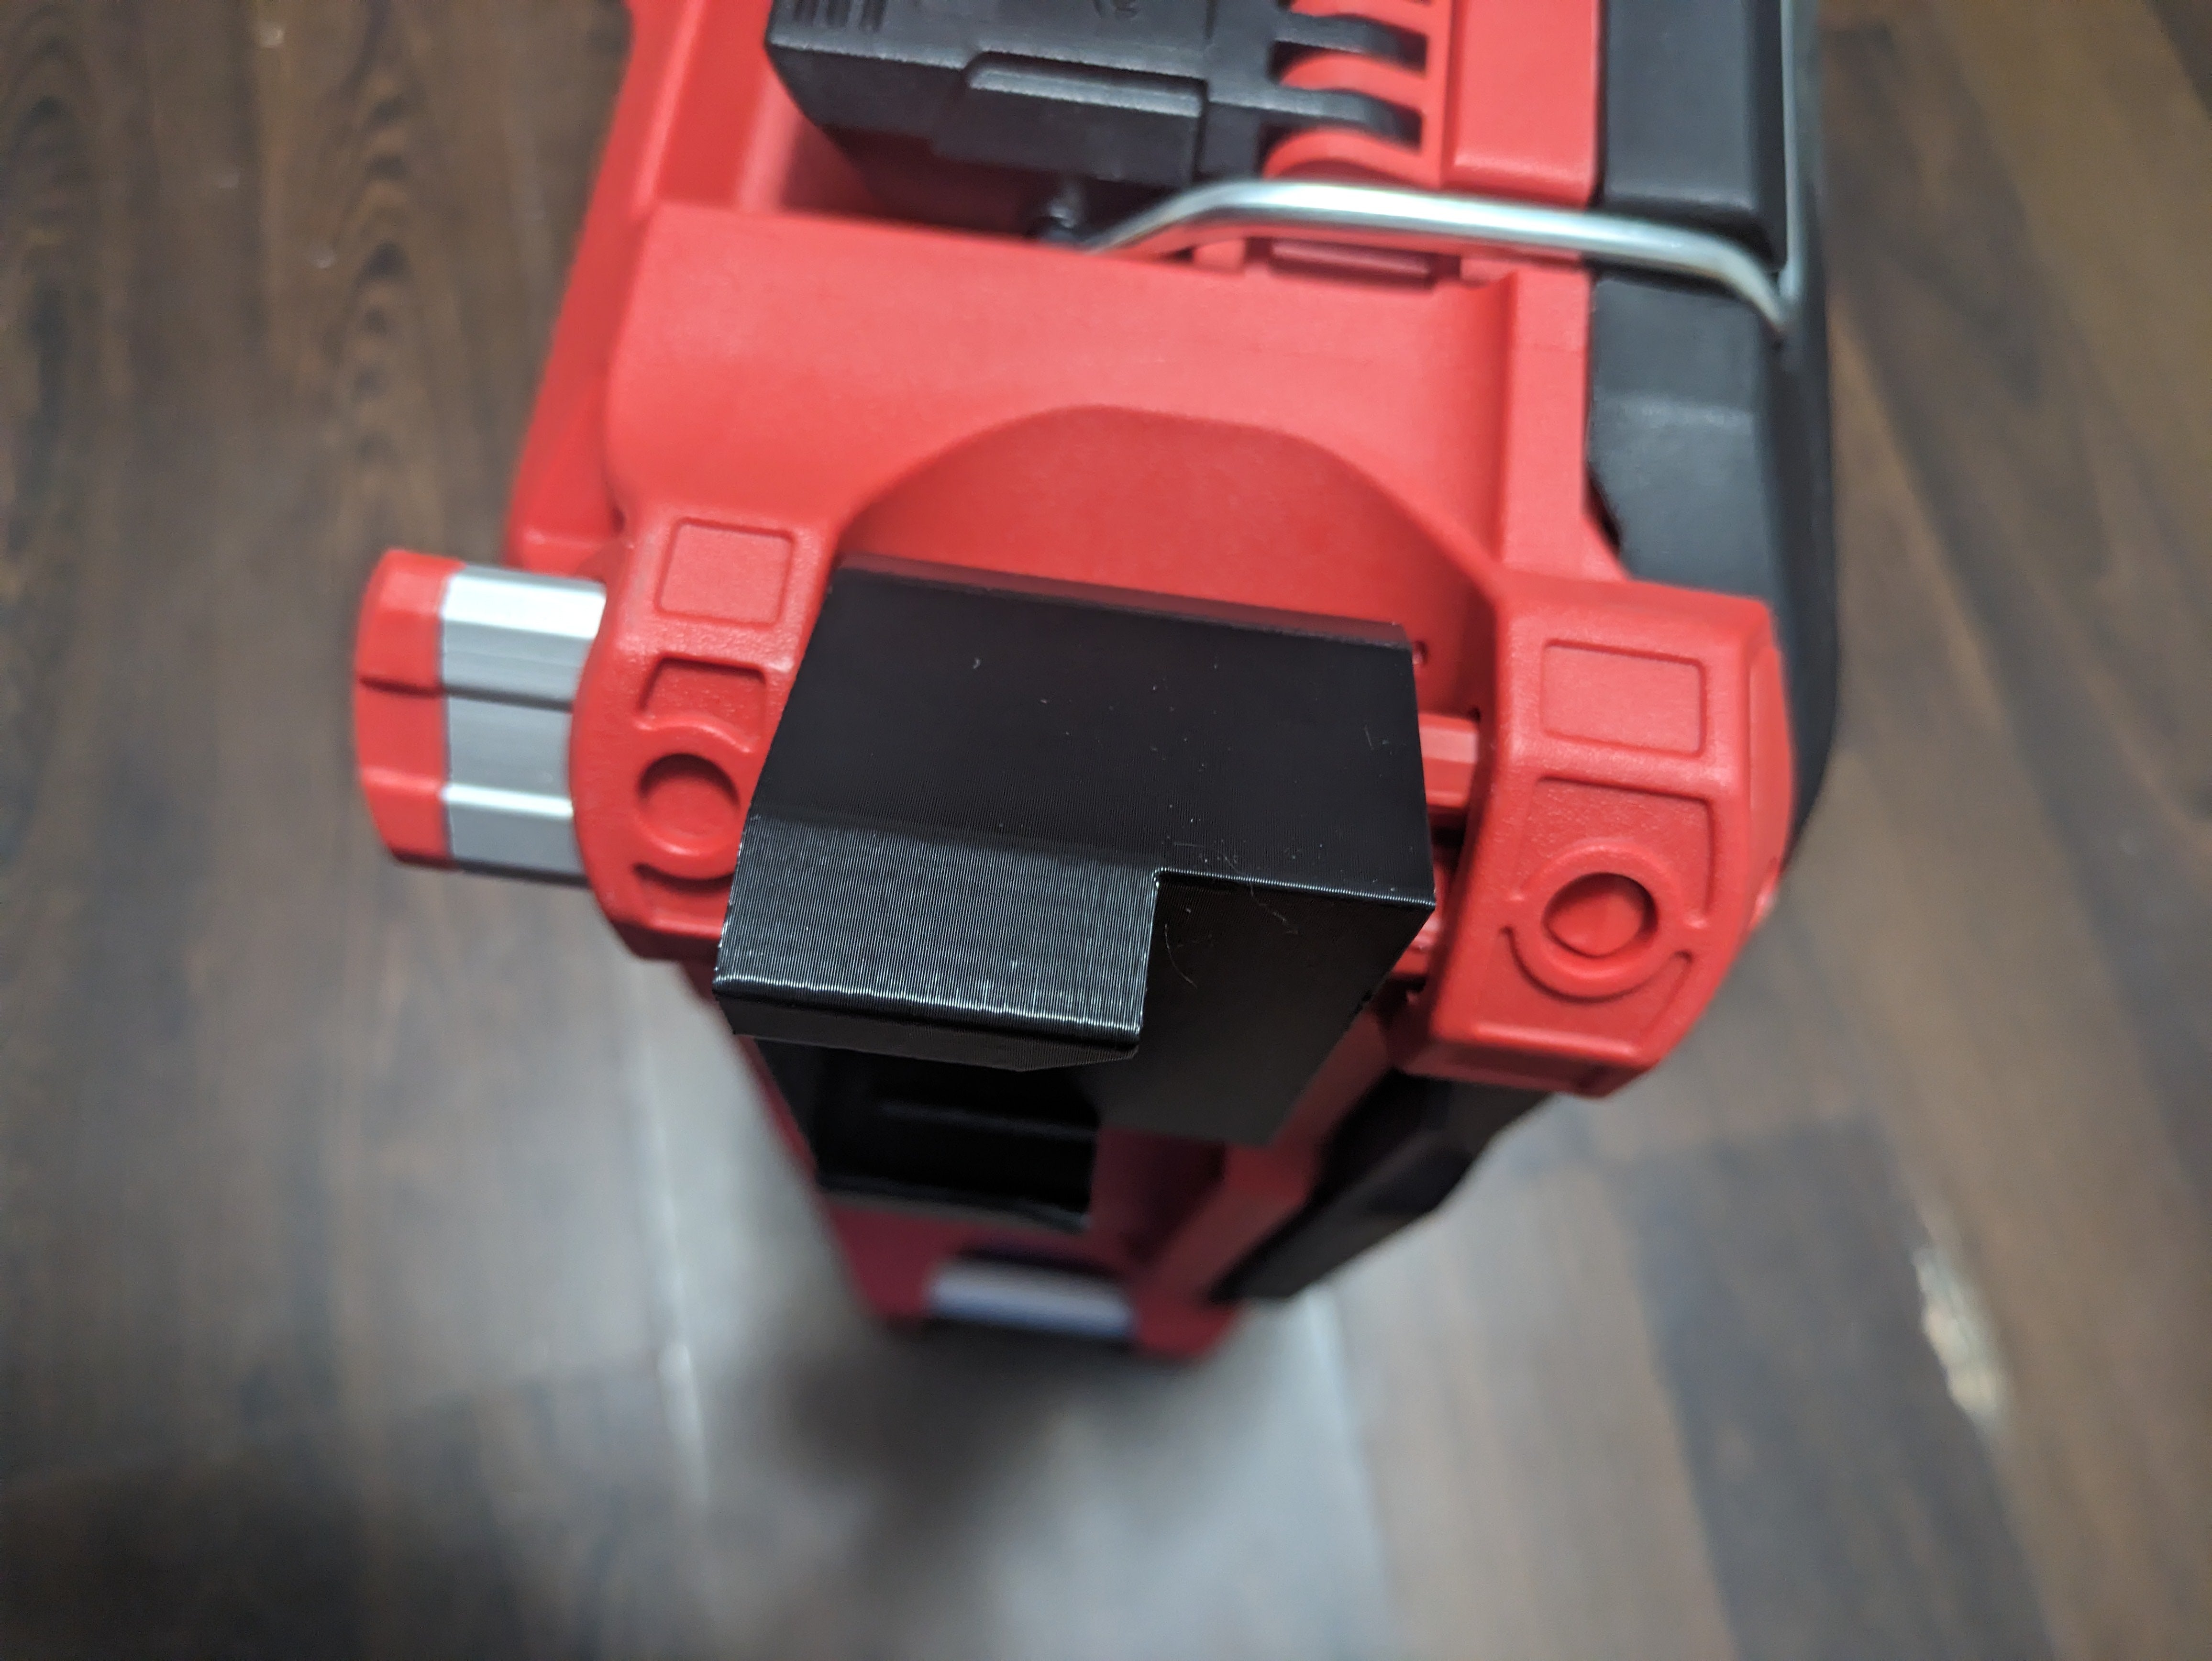
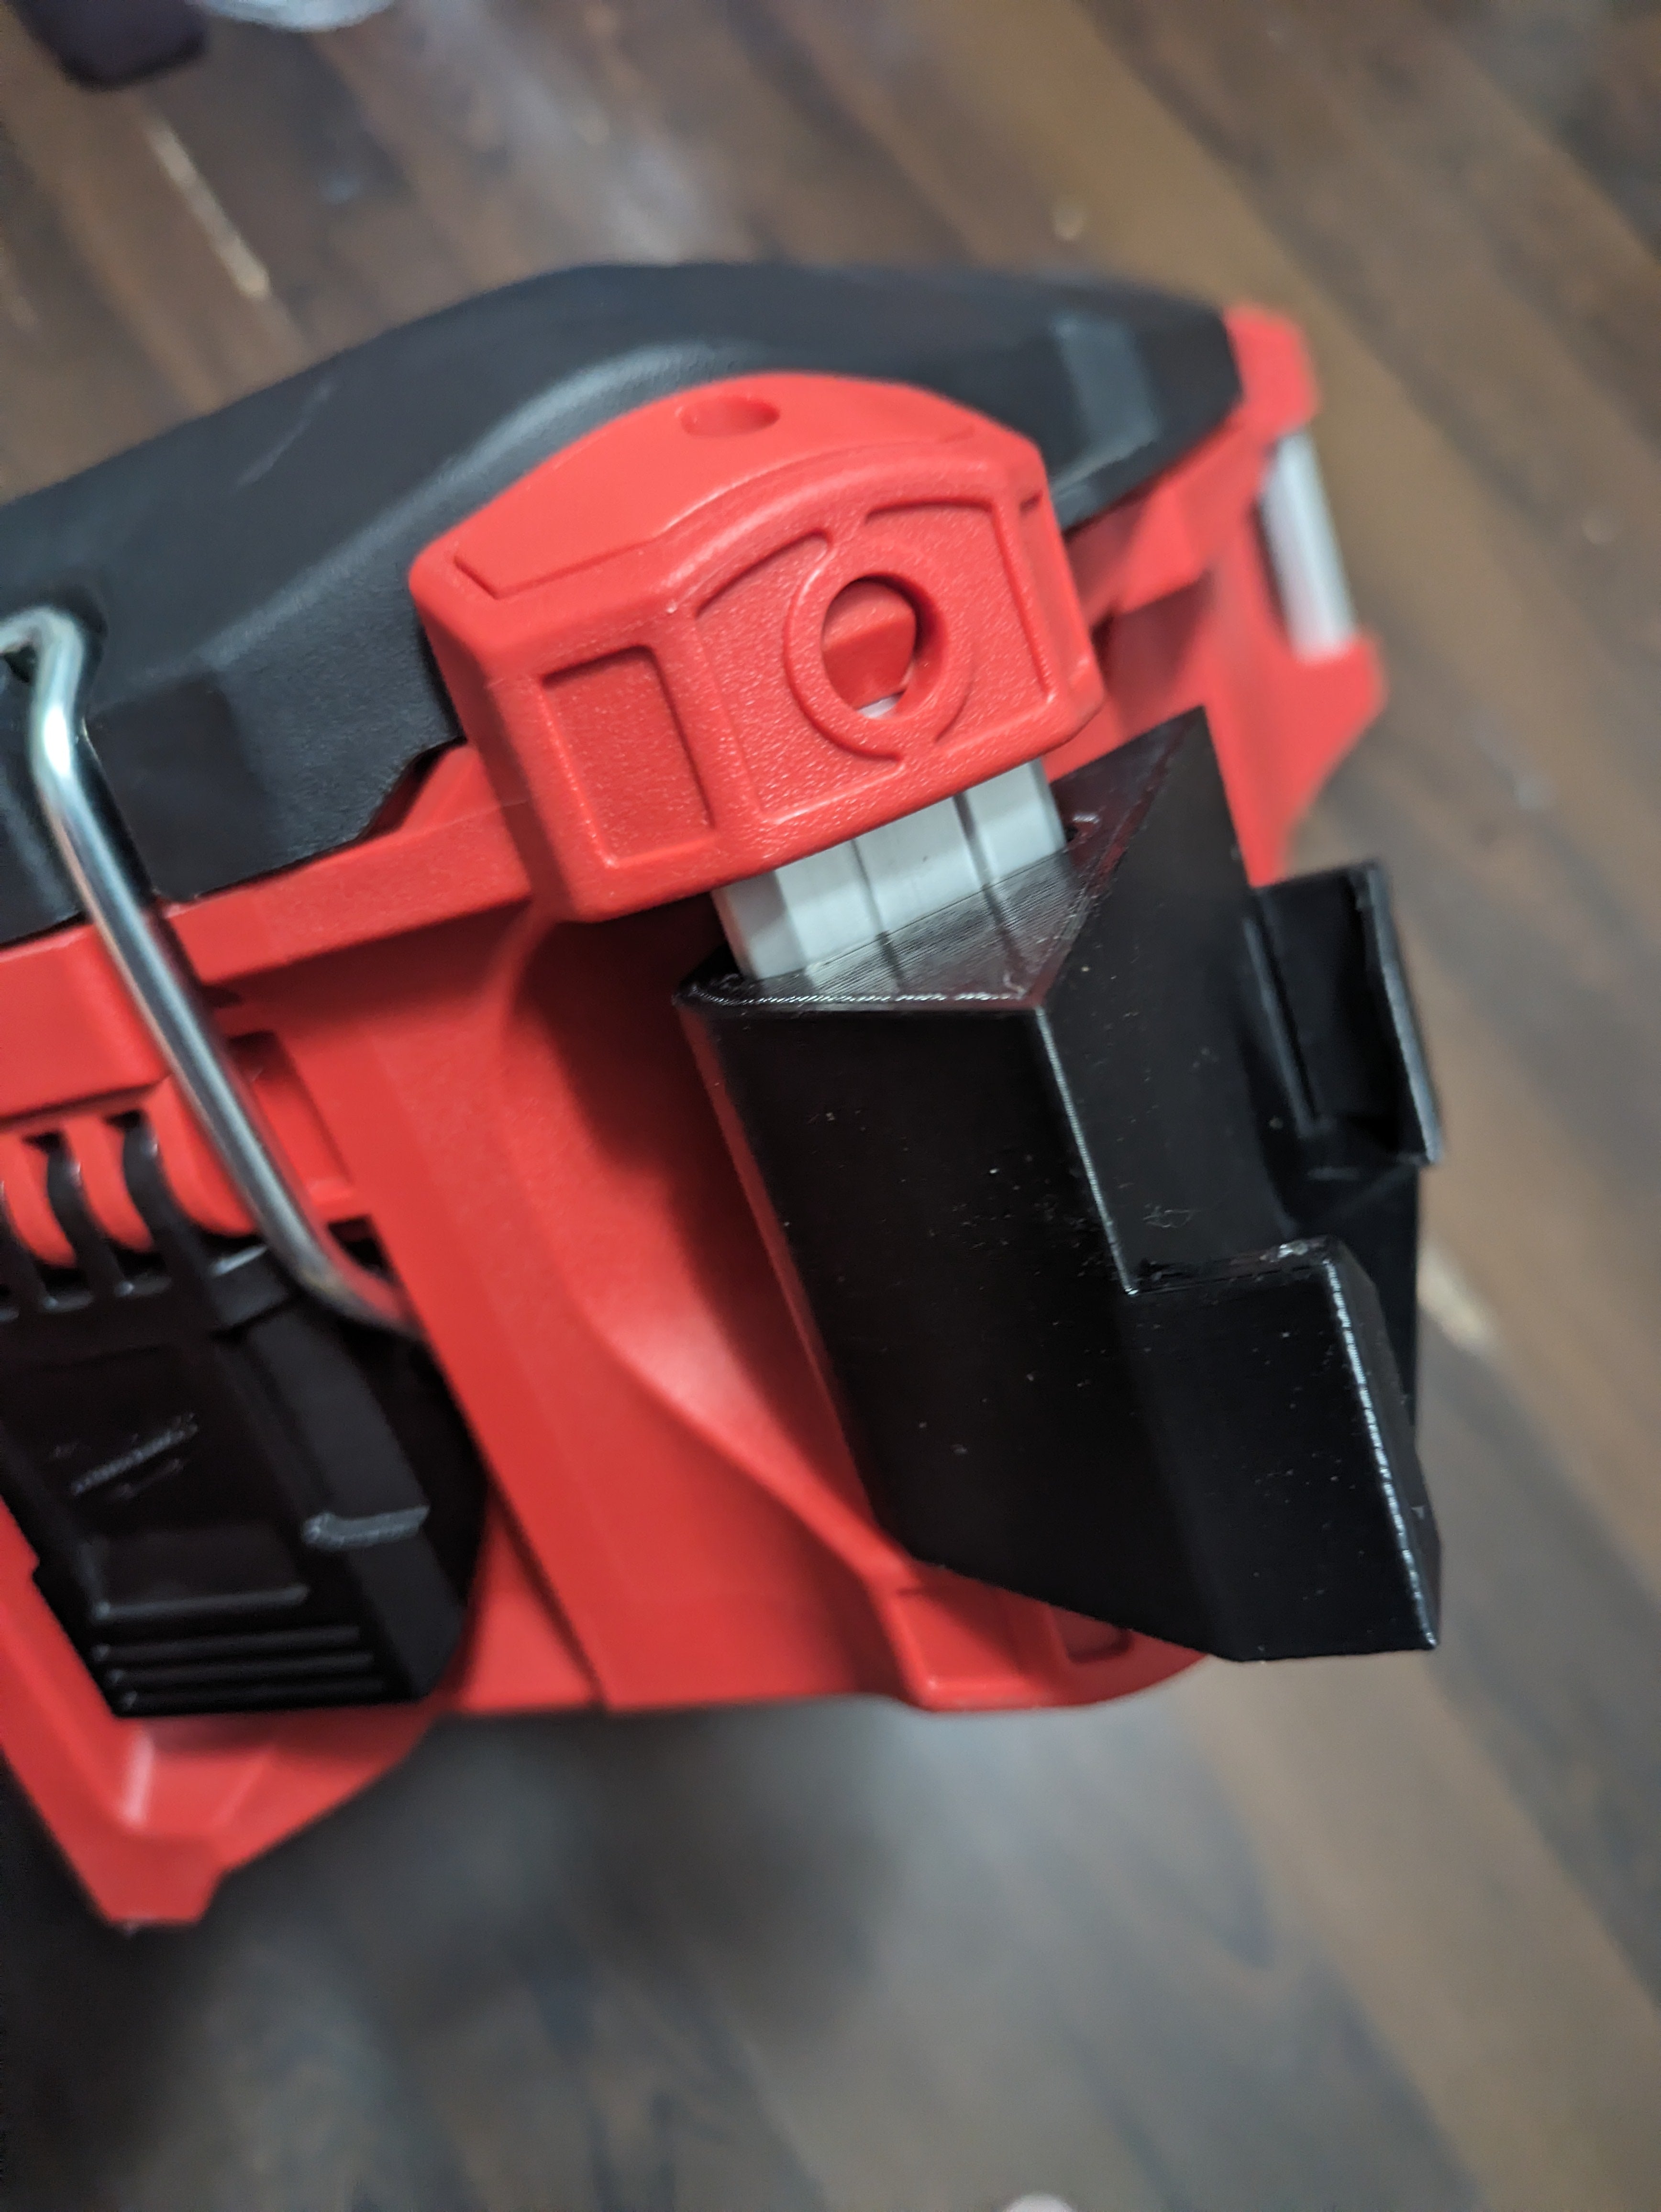
Adjust Side Mounts
3a) Move side mount to lowest position resting against the bottom edge
3b) Tighten set screws 1/2 to 3/4 full turn until the screws bite into aluminum rails, screws should recessed just below plastics edge
3c) After 1st mount is tightened in place and second mount is installed, place another tool box into the mounts and push up on
the second mount to ensure engagement, then tightened set screws
**When installing secondary mounts to the Rolling Tool Box, only one mount per side is used. You will have to repeat the steps described in 3c to ensure the lower mounts are engaged, then tighten set screws
